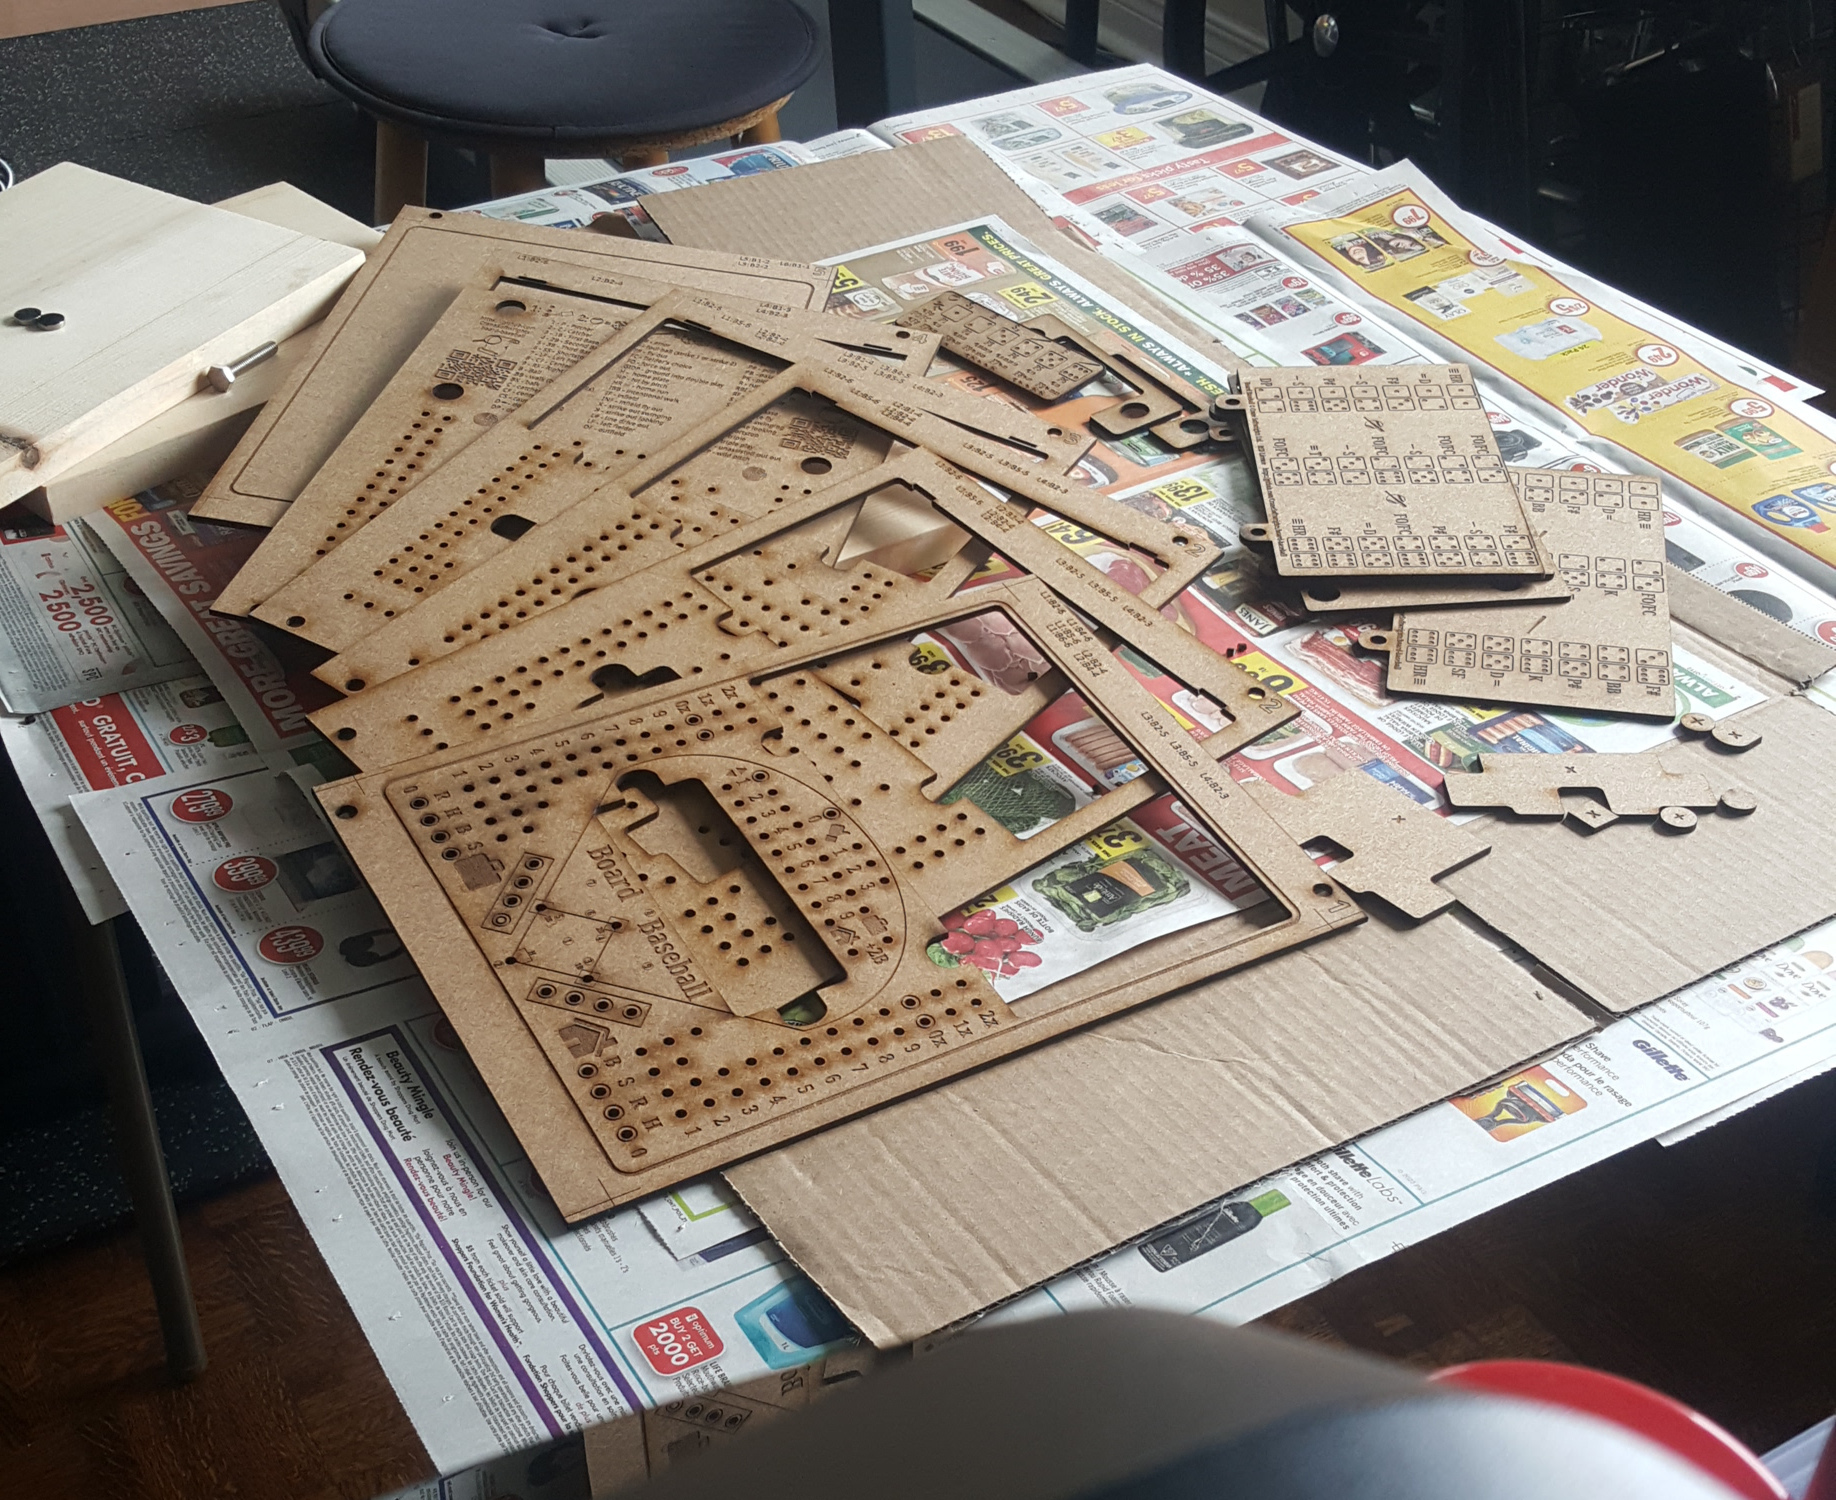
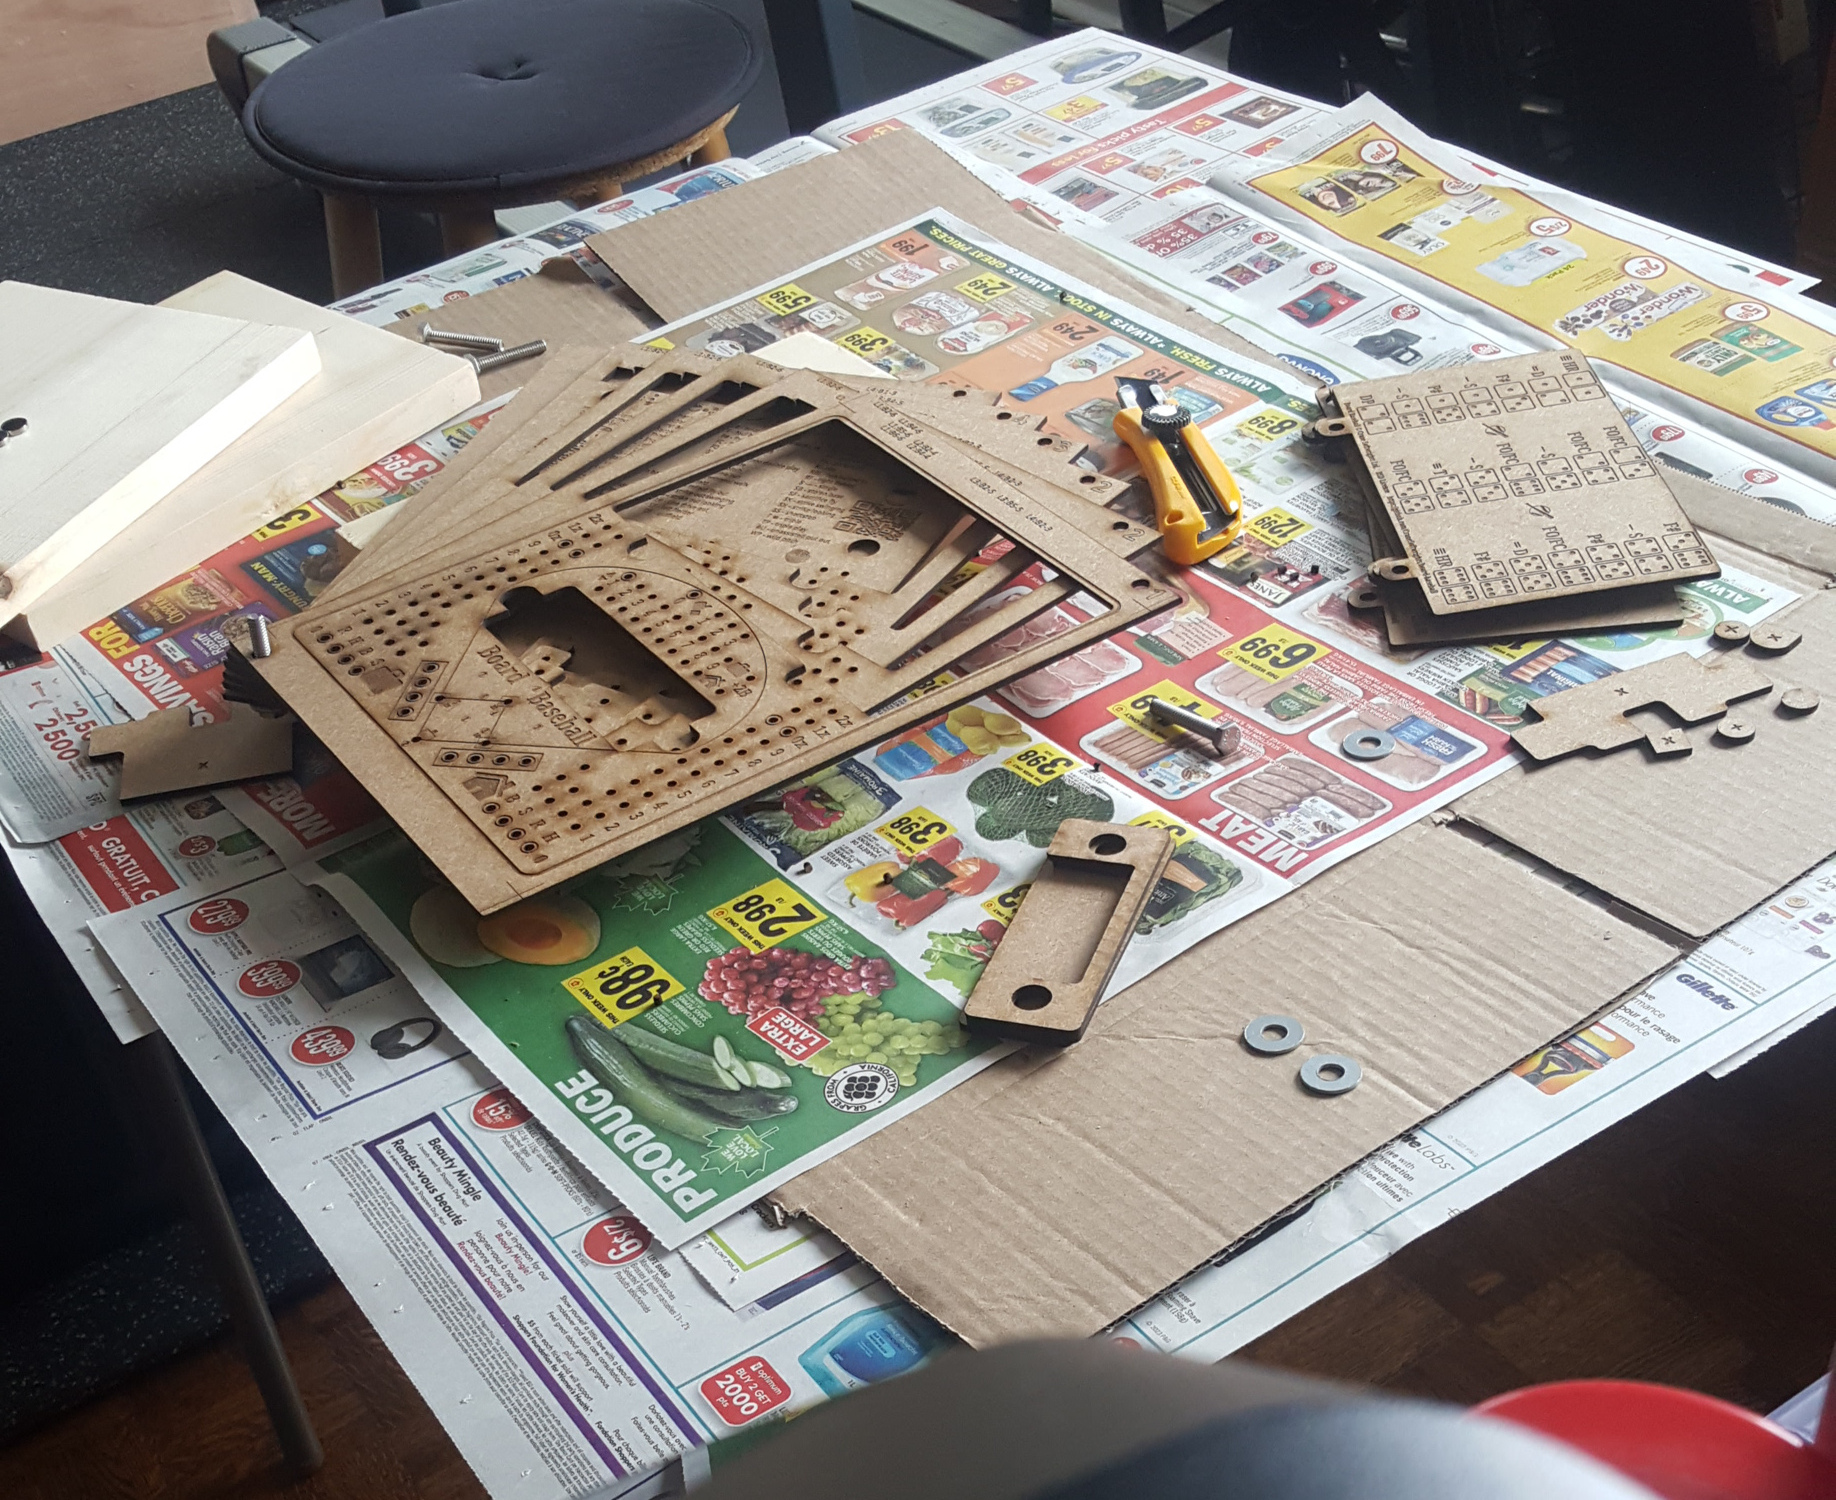
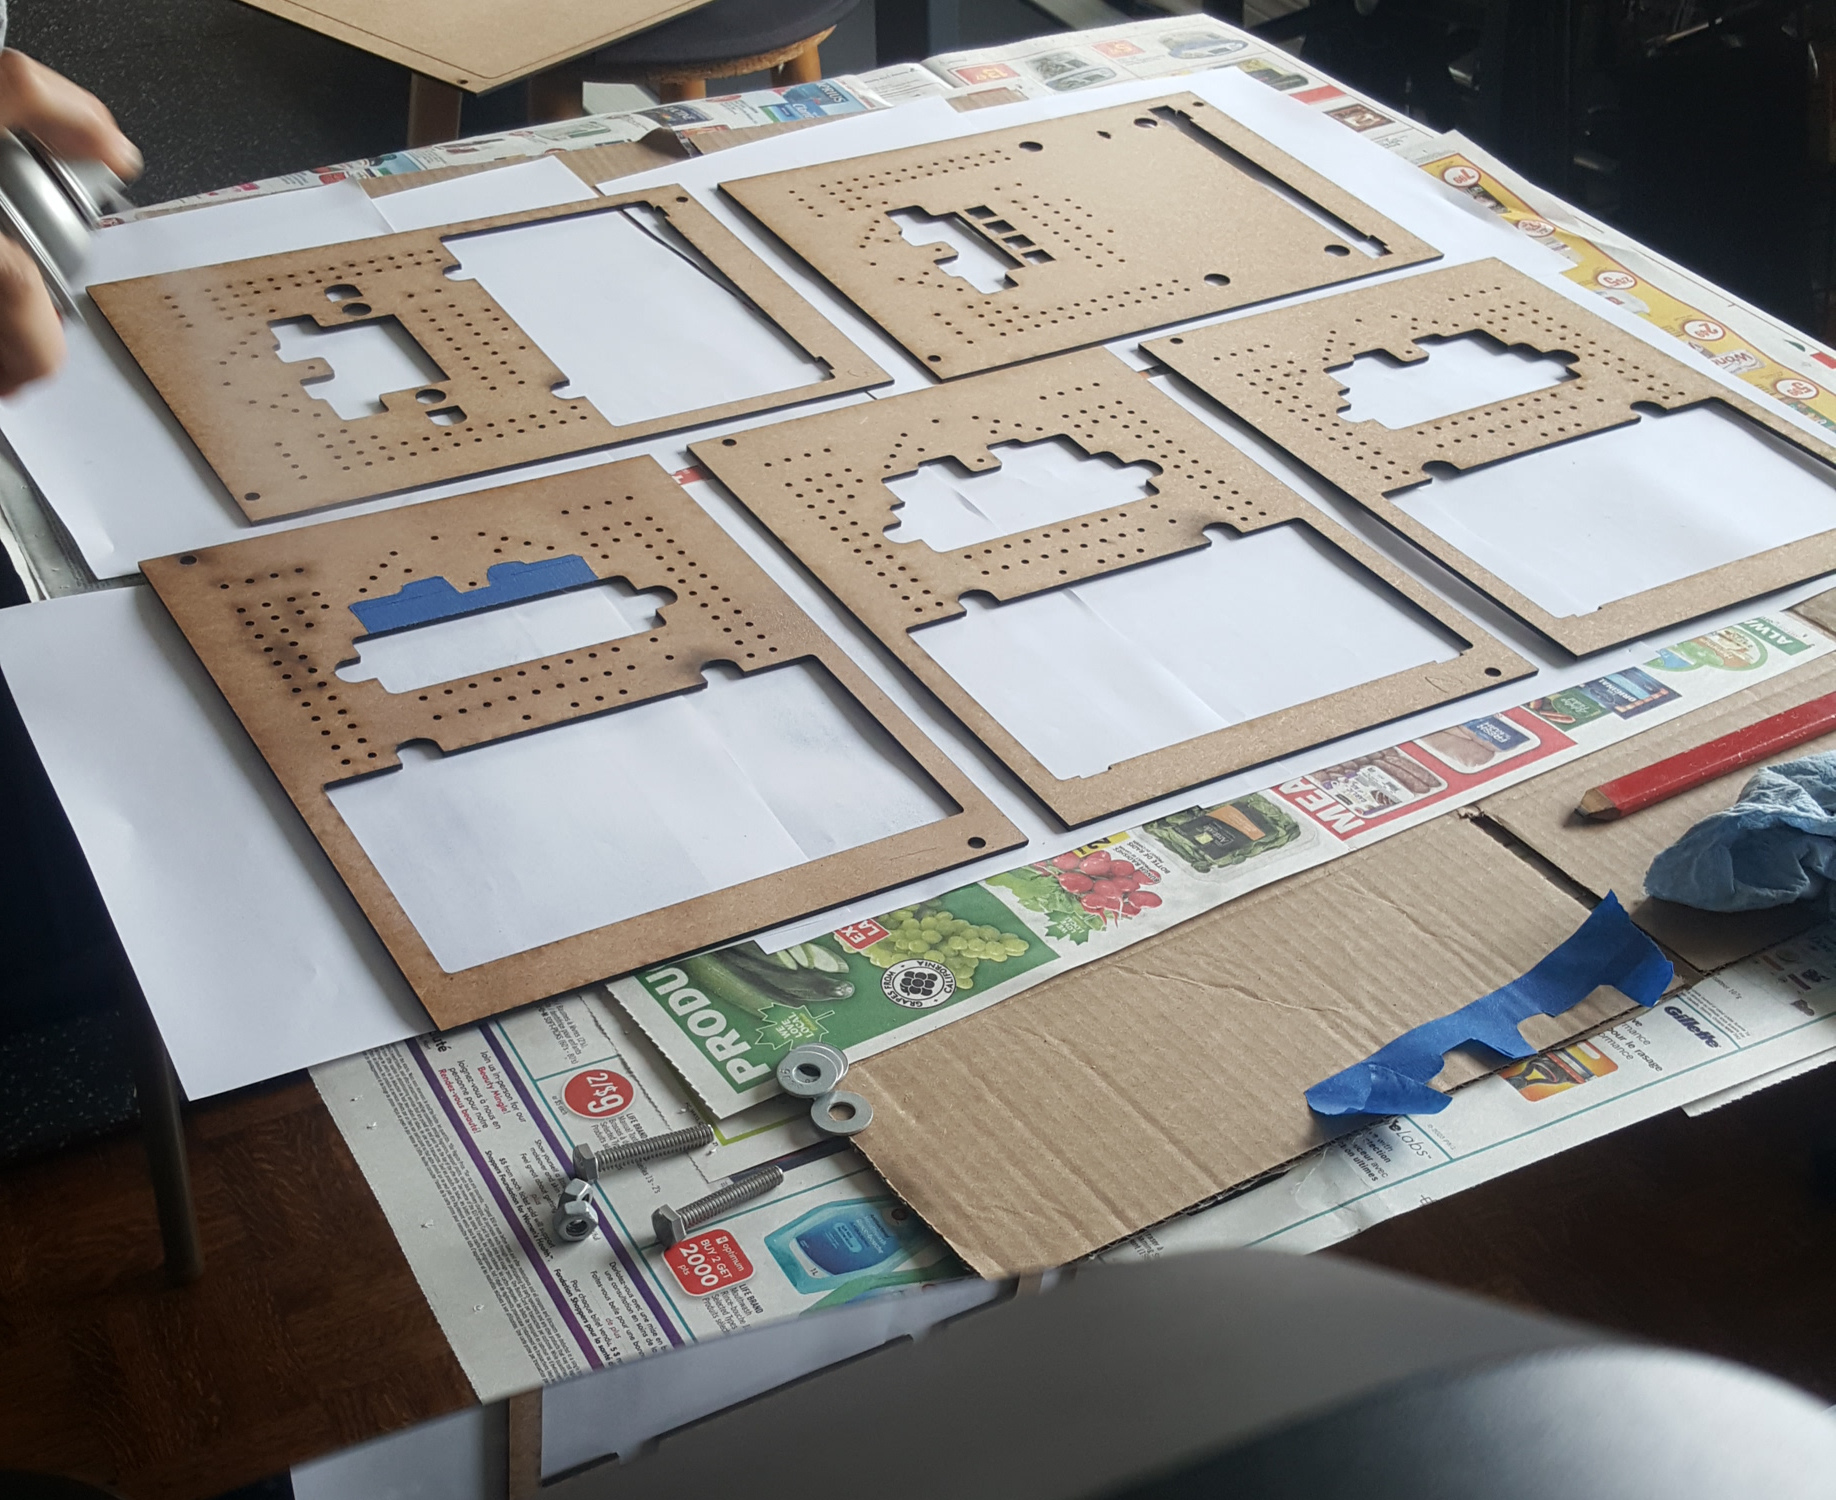
There were issues determined from our first test that created a number of tickets. We decided to use cheap MDF material for our second test so that we could test the new patterns. It also gave us the strategy for working with 1/8” boards instead of 3/16” boards which may be cheaper to purchase when checkout out final materials.
And good thing, too! Sure enough we created a number of tickets from today’s build, some important and some cosmetic.
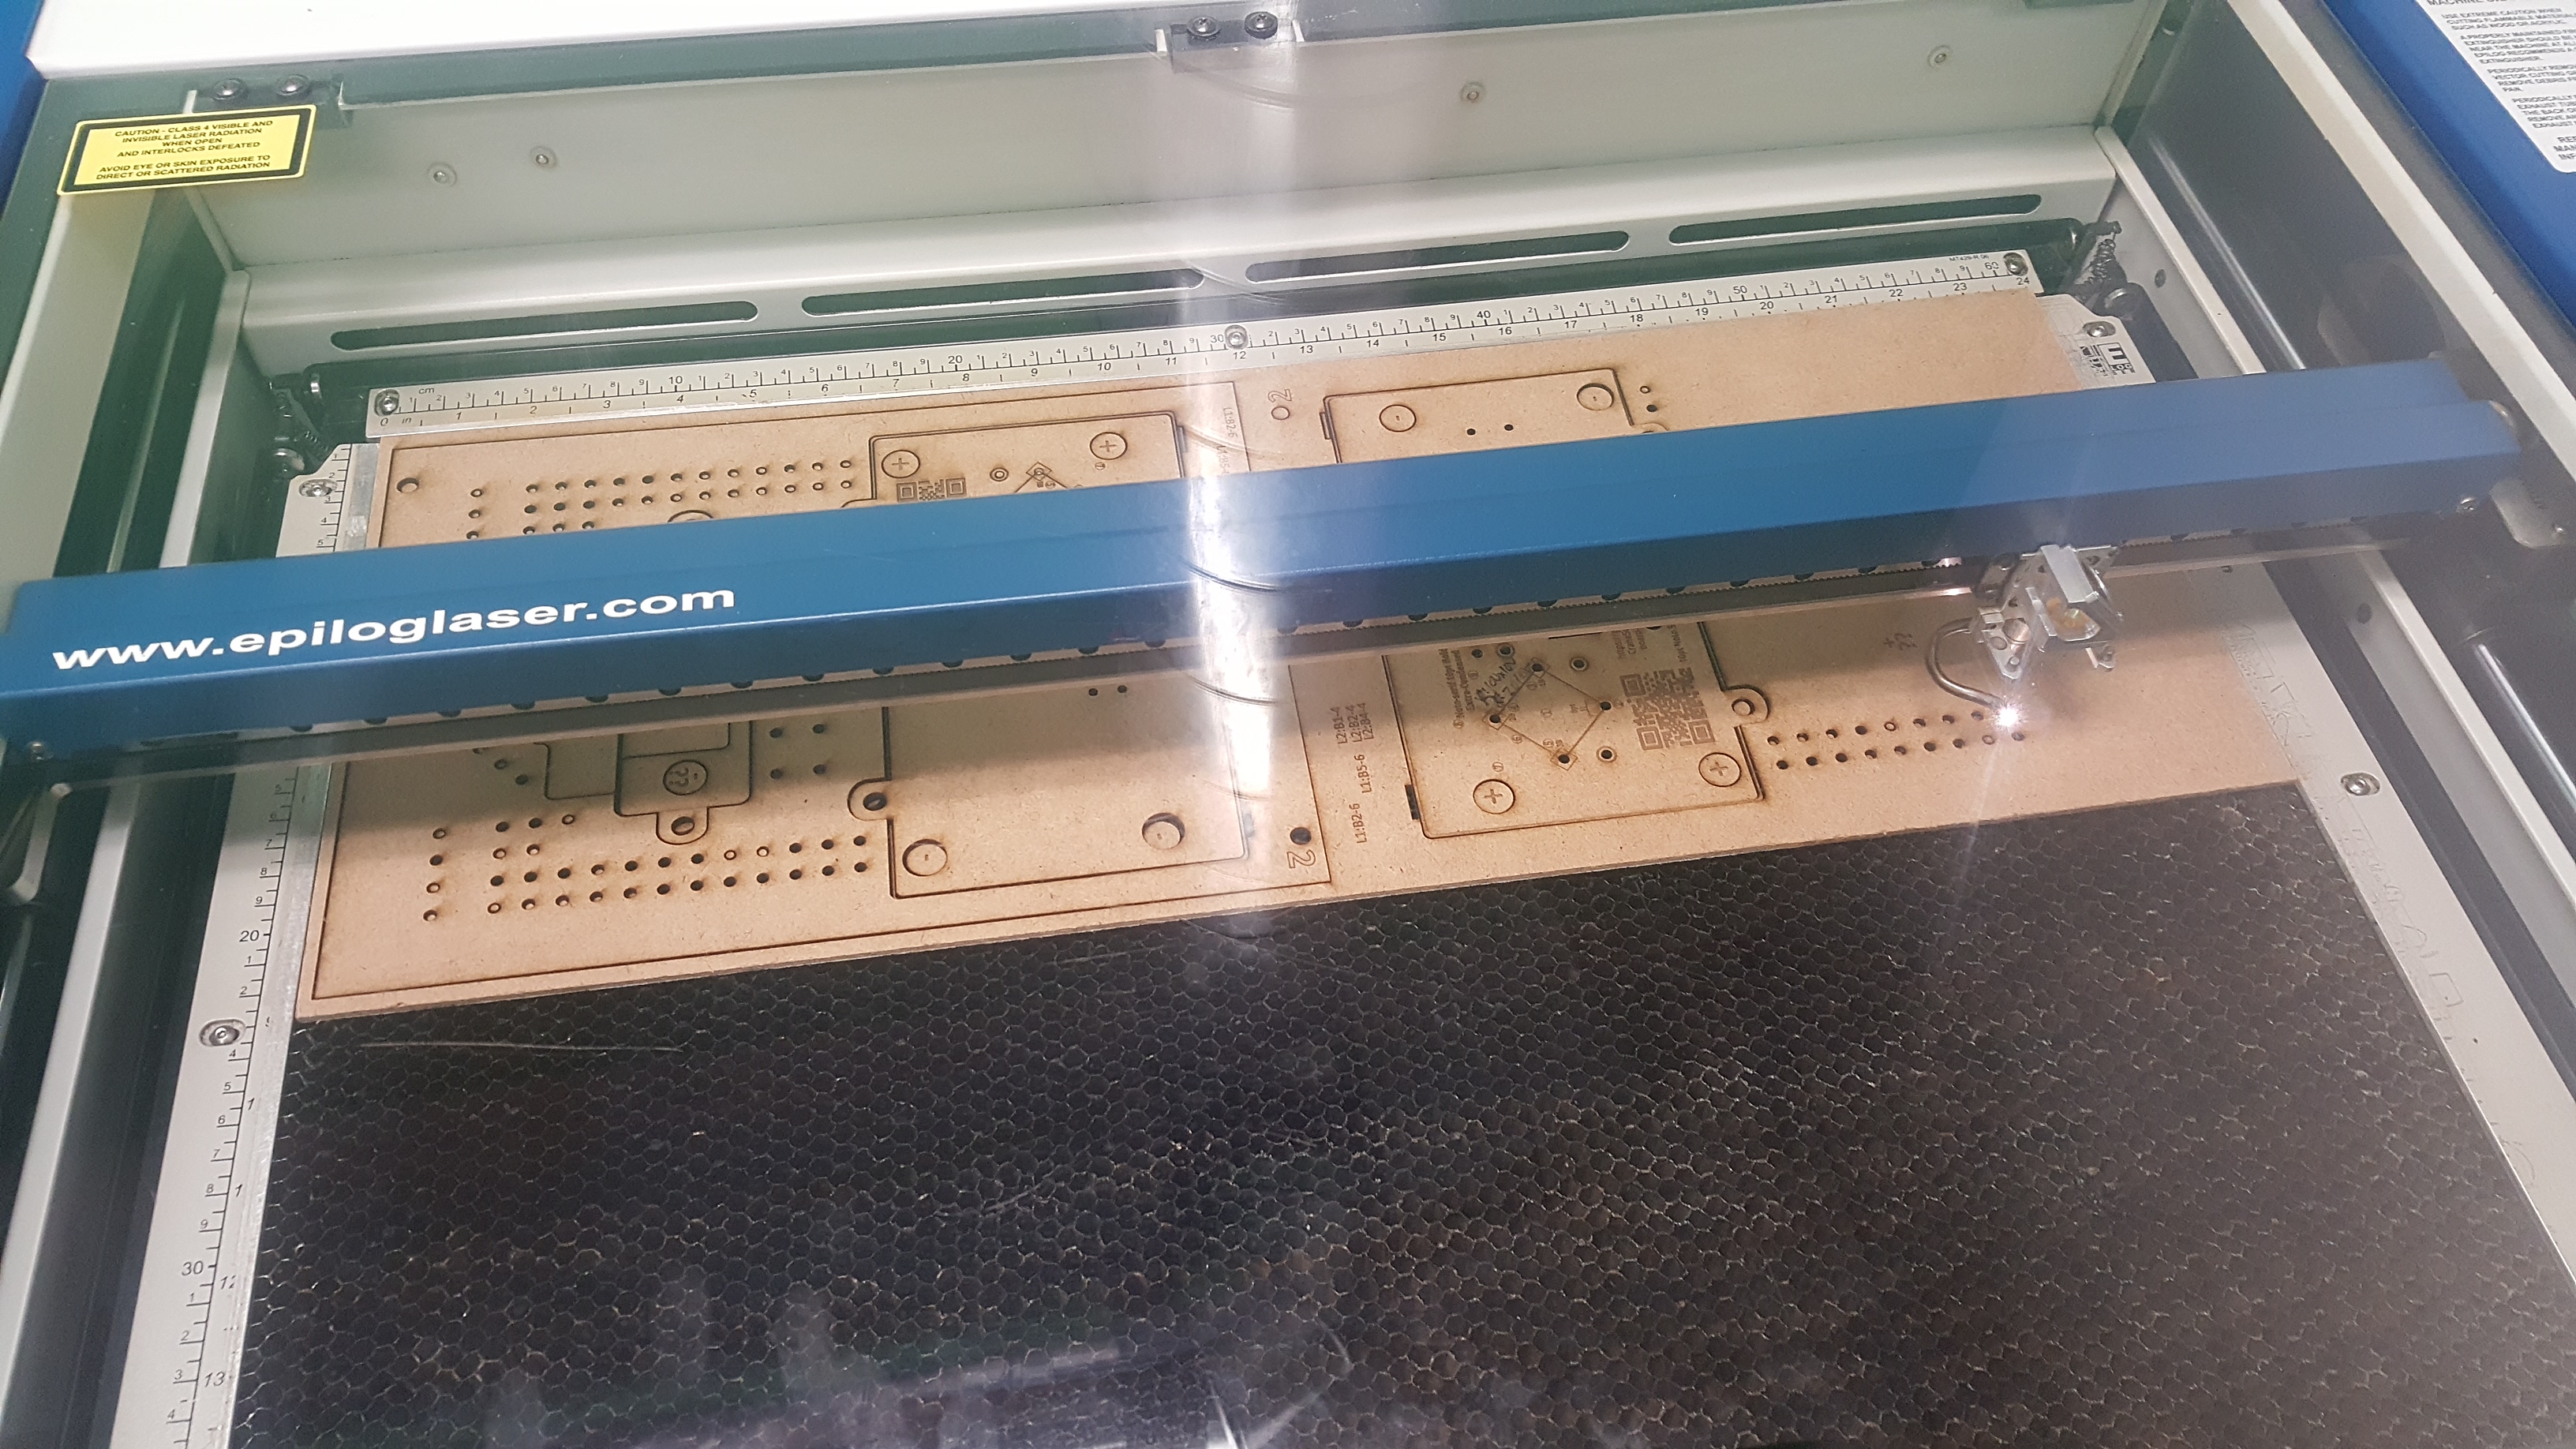
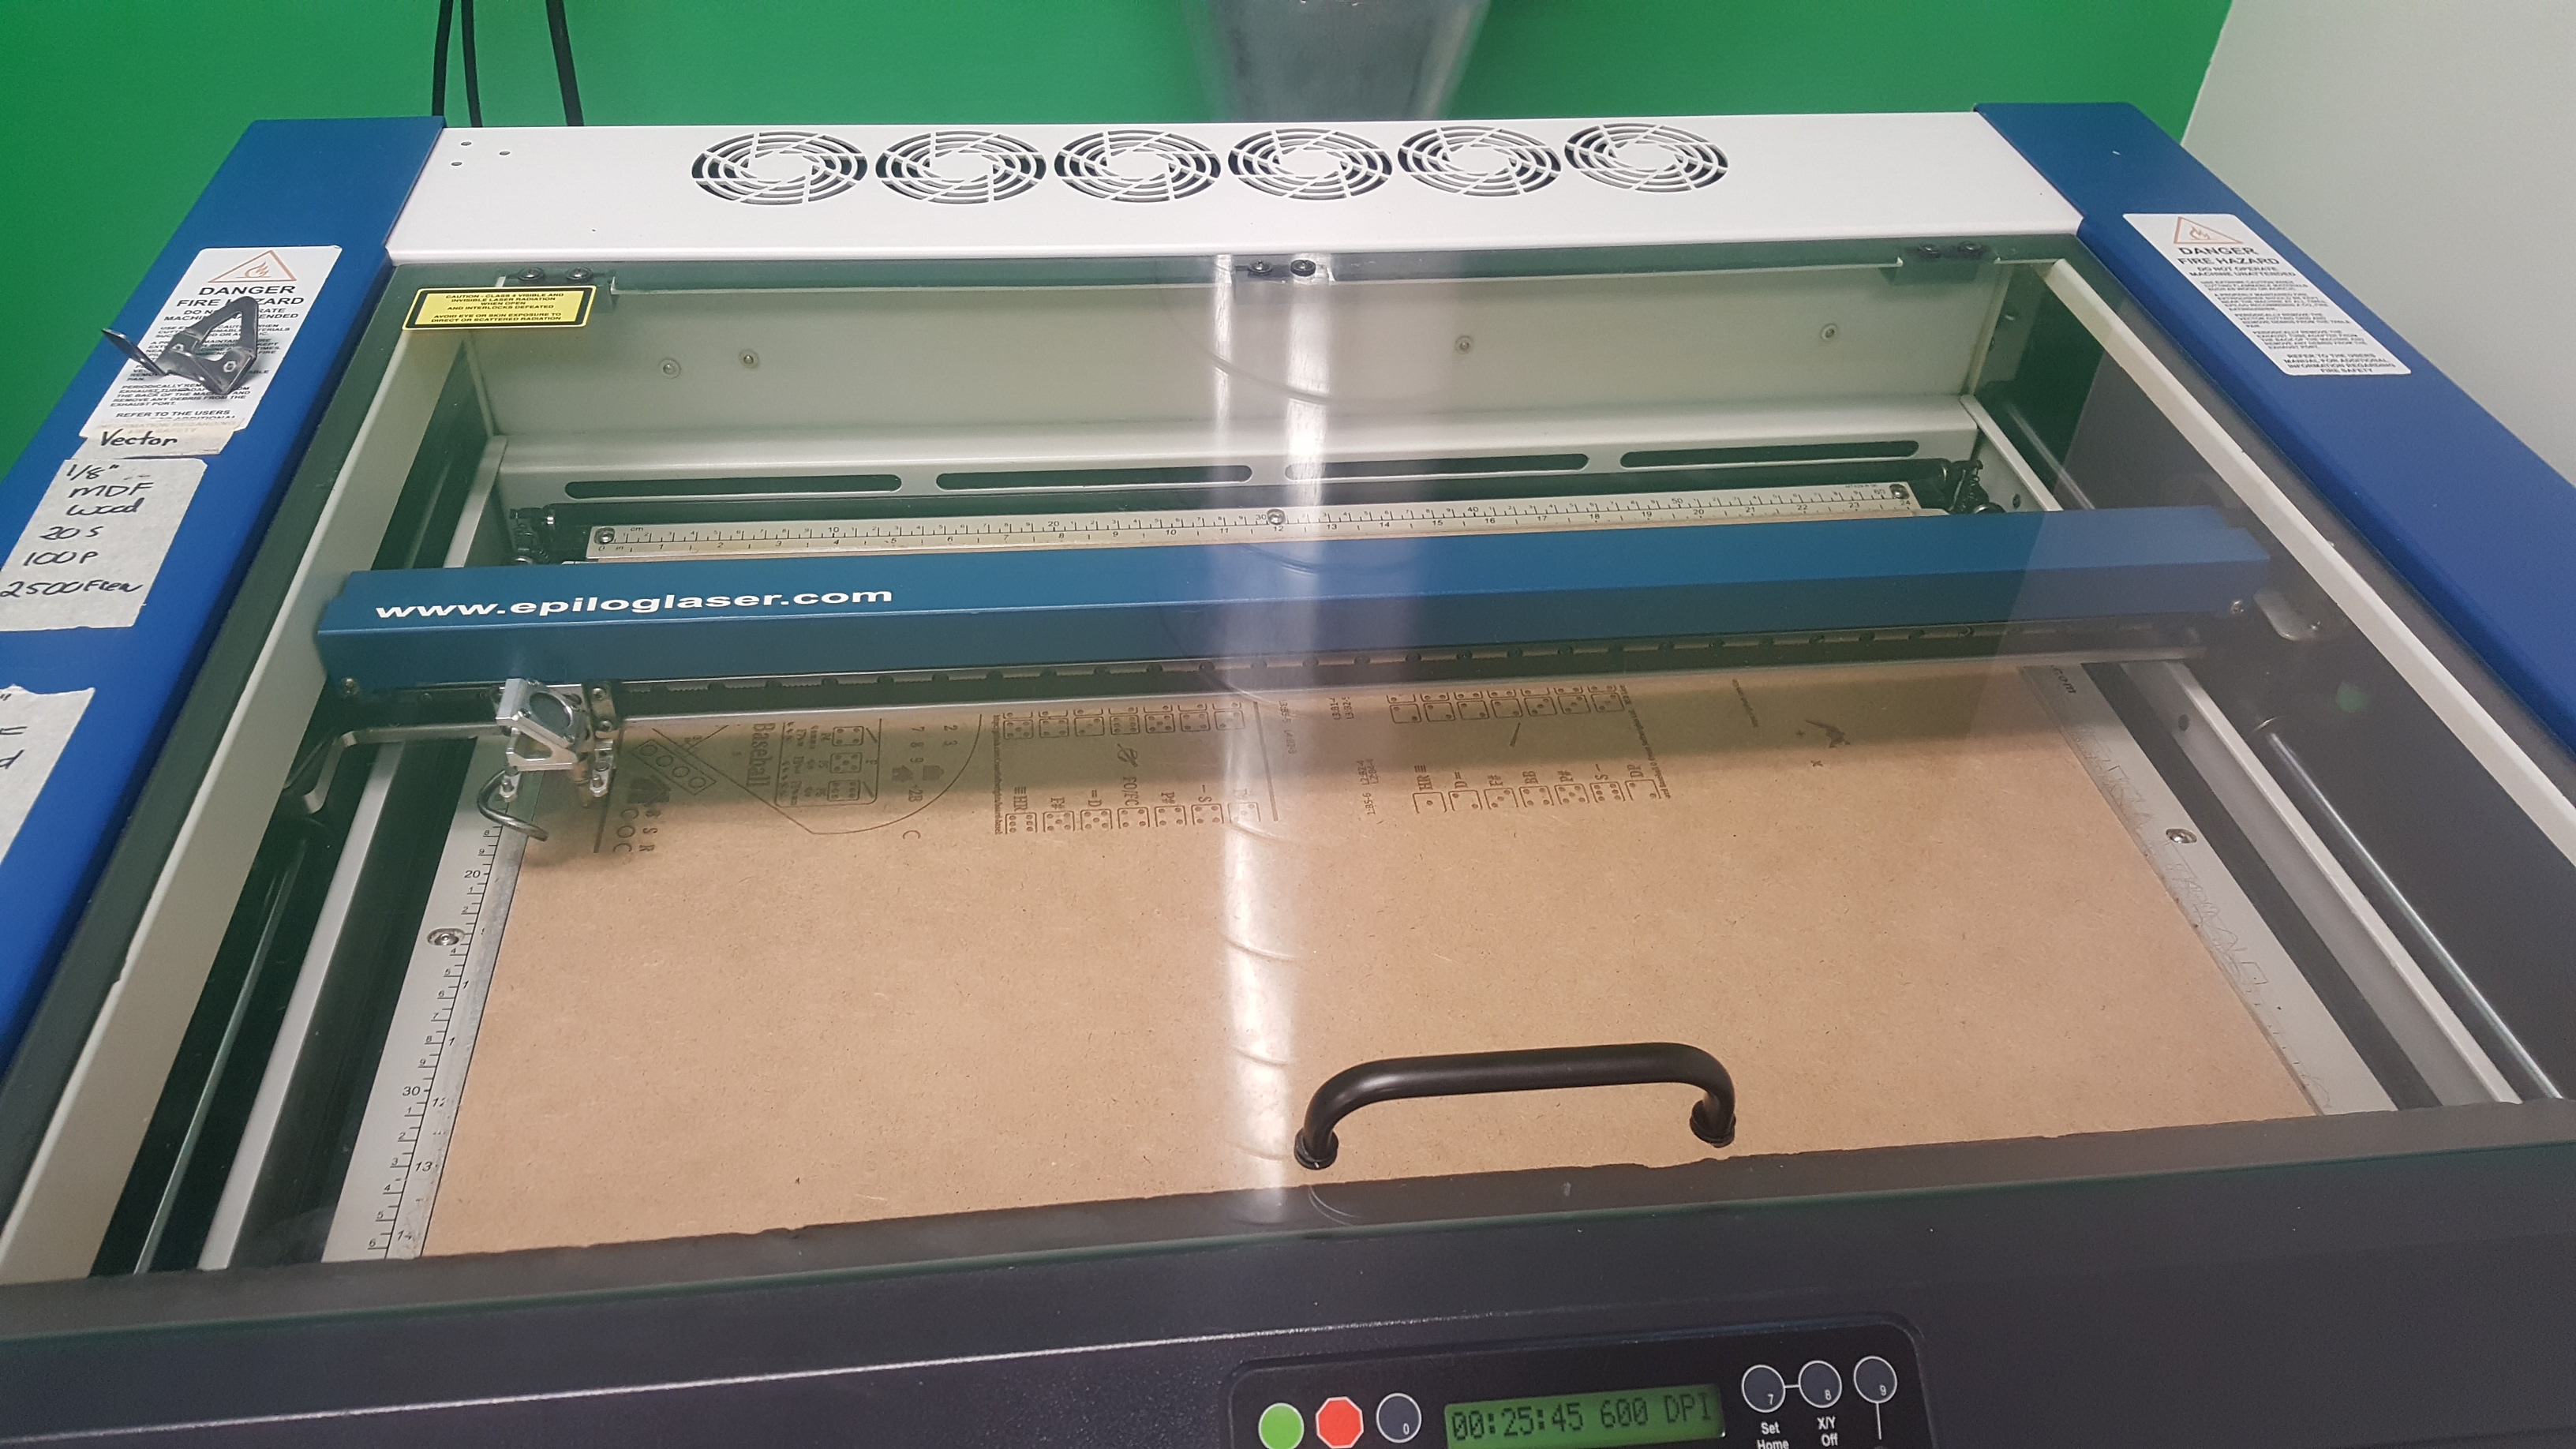
We burned the material for free at Ottawa Public Library’s Imagine Space. We used the larger Epilog Helix that has the 18”x24” bed … the smaller Epilog Mini has a 9”x24” bed (hence our decision to make the masters based on 9”x12” dimensions).
The timings were as follows:
The alignment holes help pull the layers into line:
Everything accounted for, the backs of three of the play panel layers are exposed and adhesive is applied. Note how the test patterns burned into the two layers 2 and how they won’t be visible when done. Before adding the top layer four pairs of batteries are placed in the four corners. The orientations of the two on the left are the same, and the two on the right are the same, but the left and the right pairs have opposite orientations to the other side.
The top layer of the play panel is put in place and the alignment holes get the edges close (but still some wiggling was needed for smooth edges).


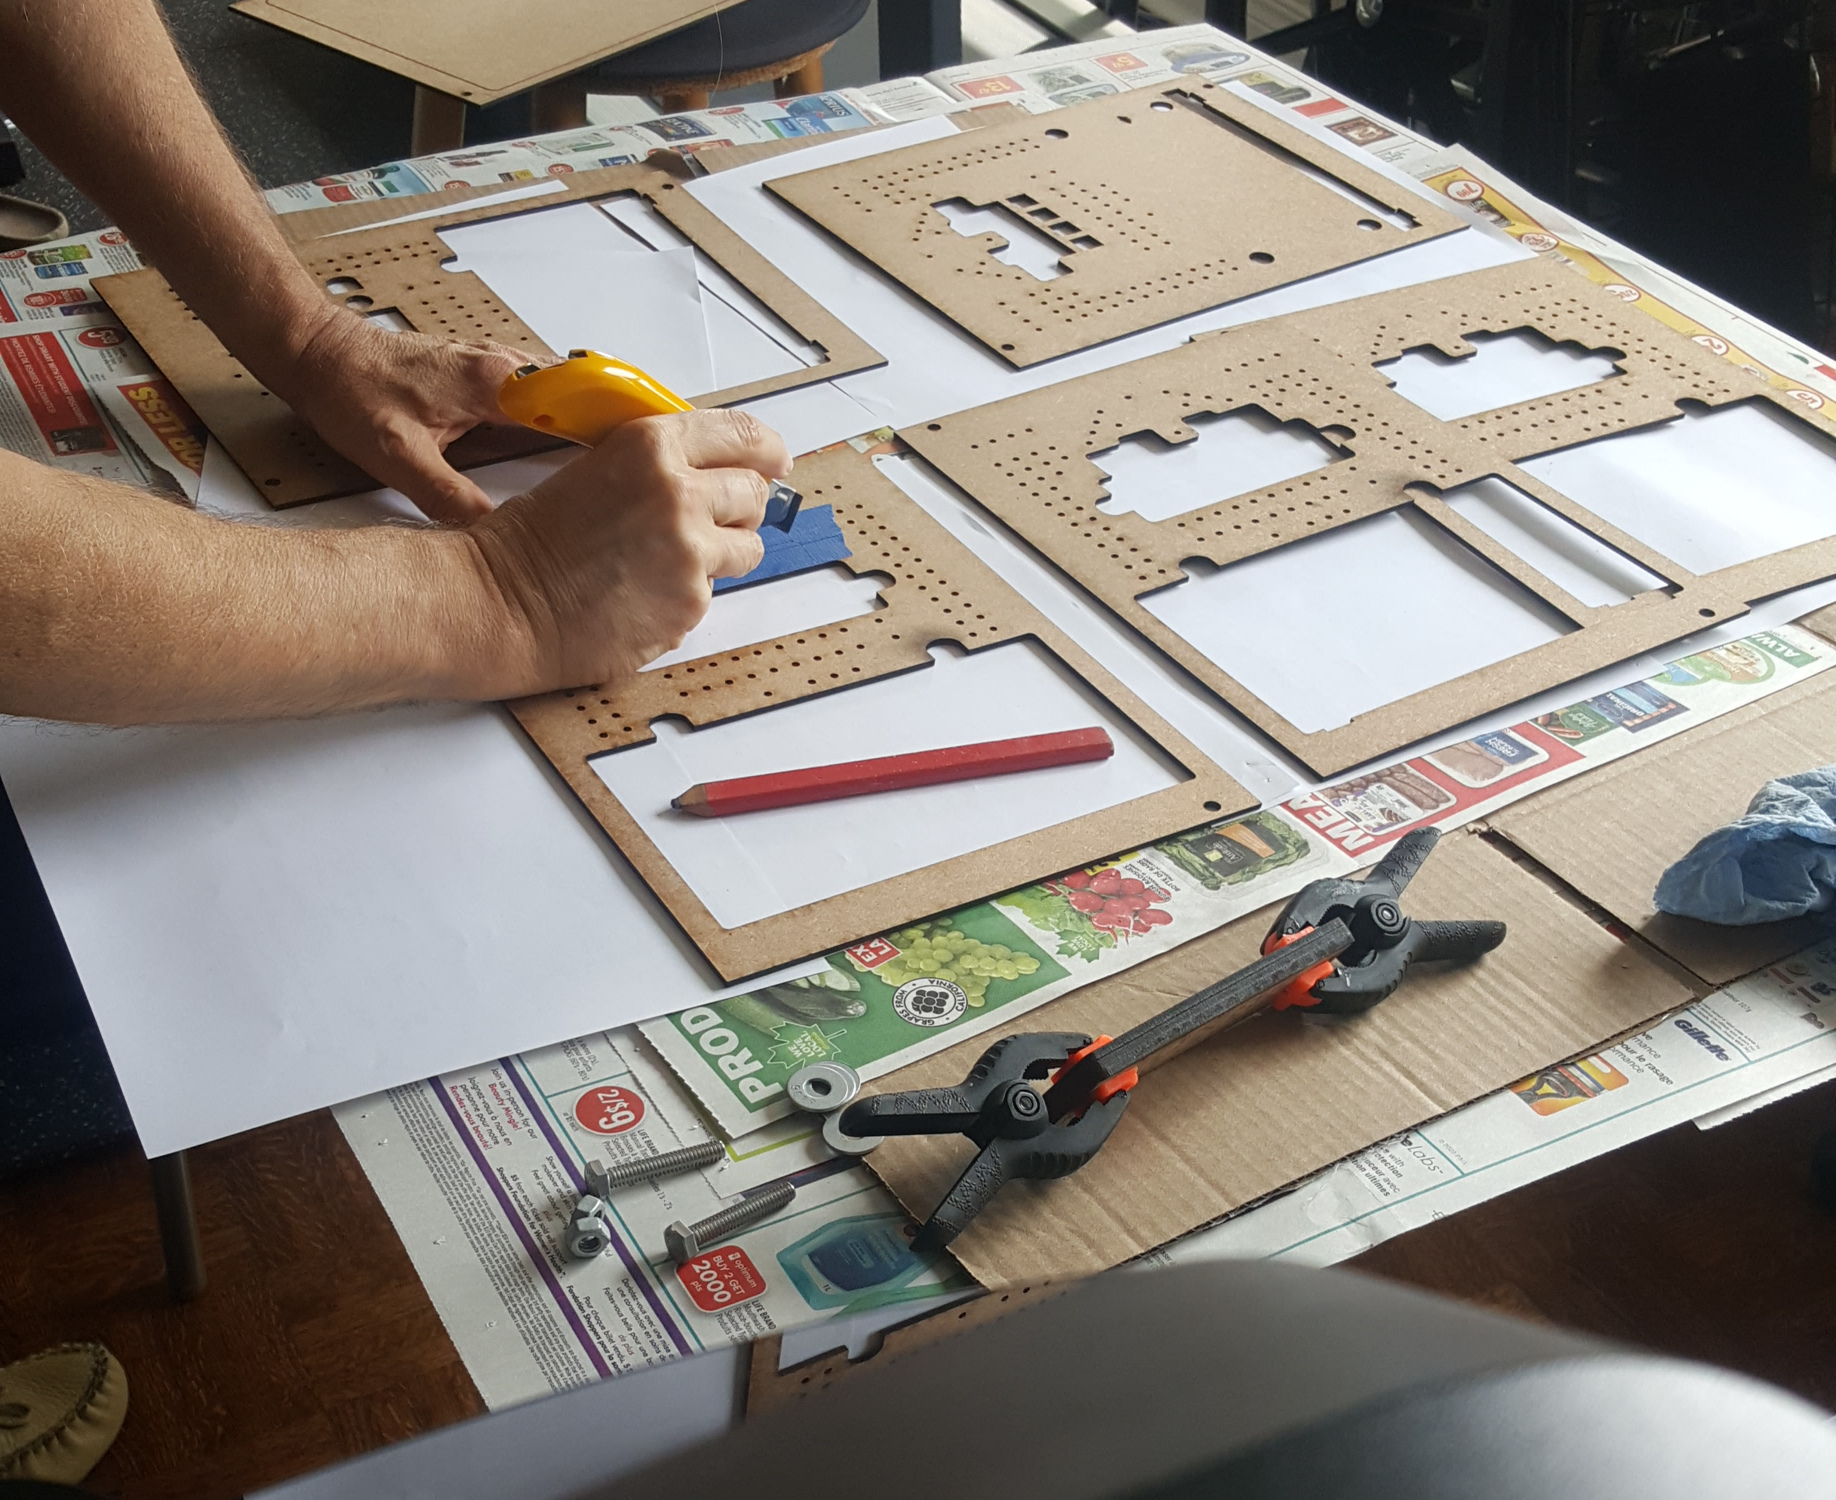
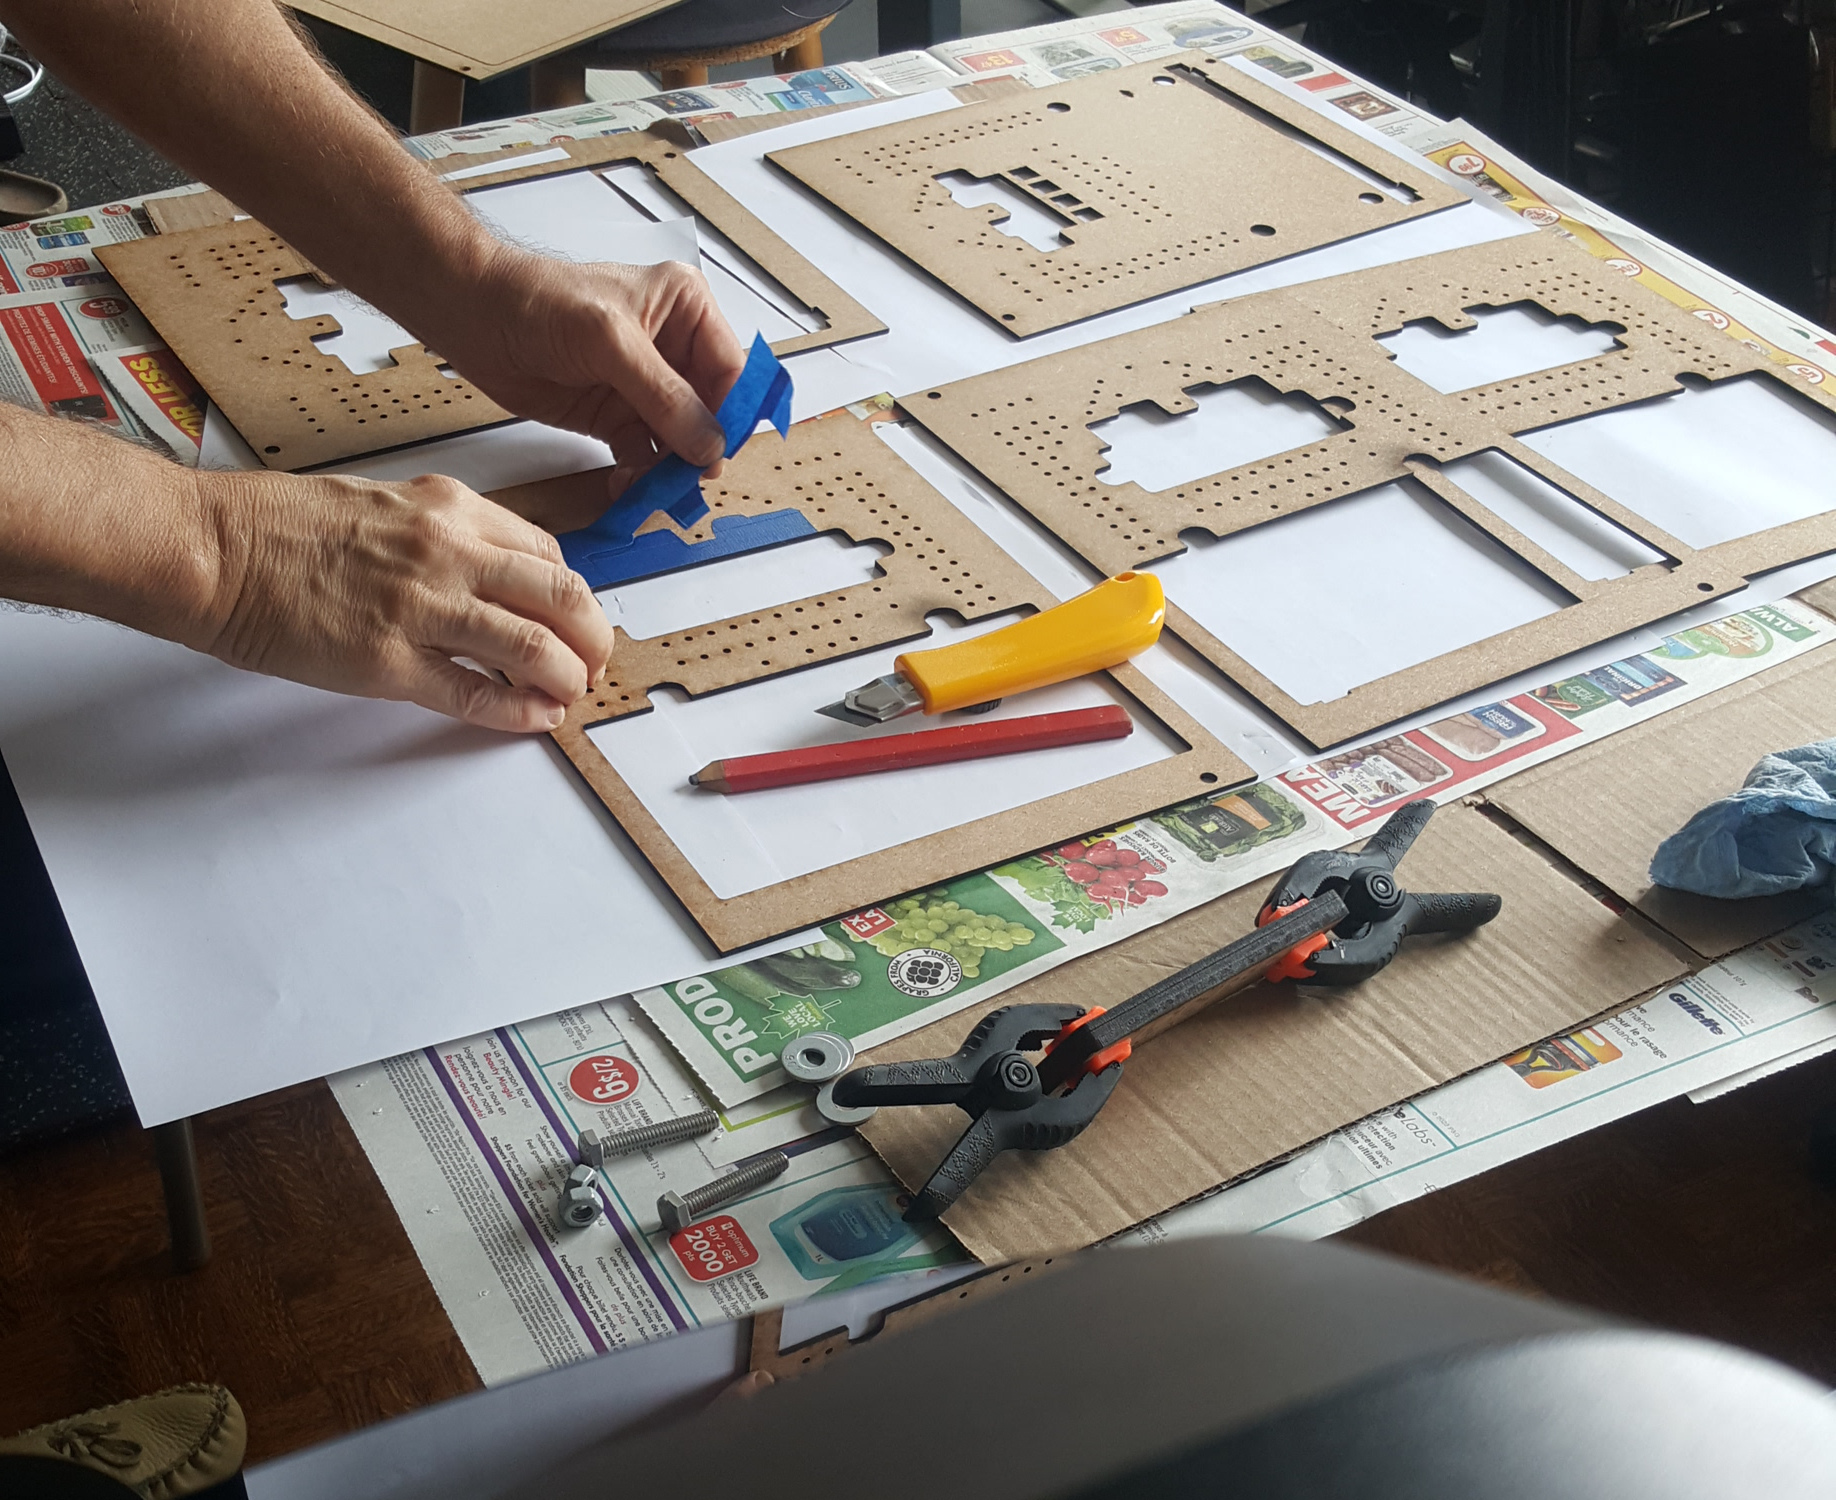
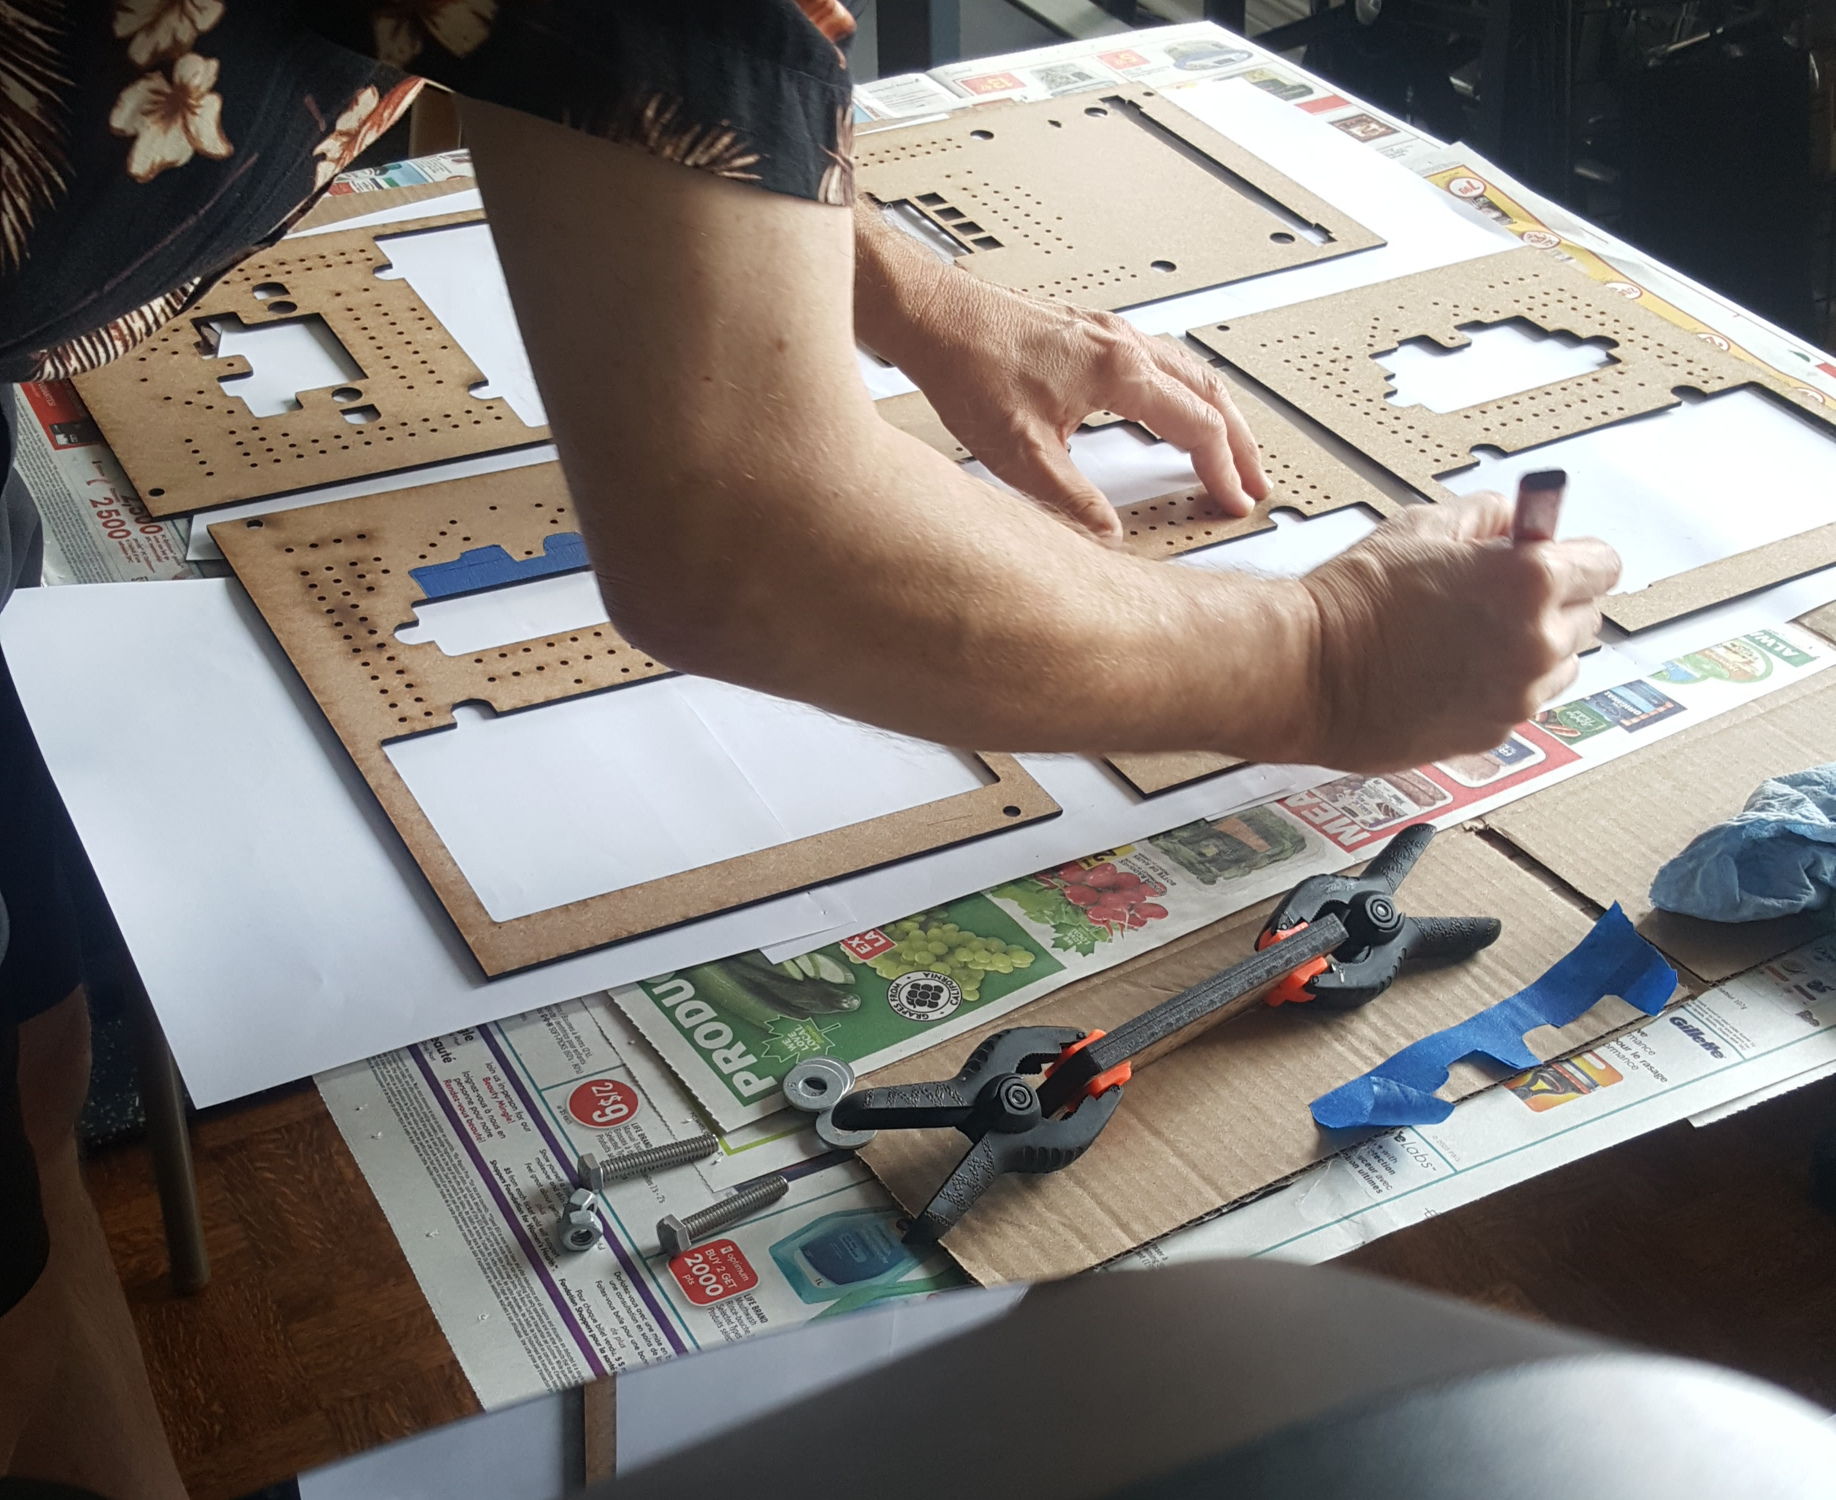
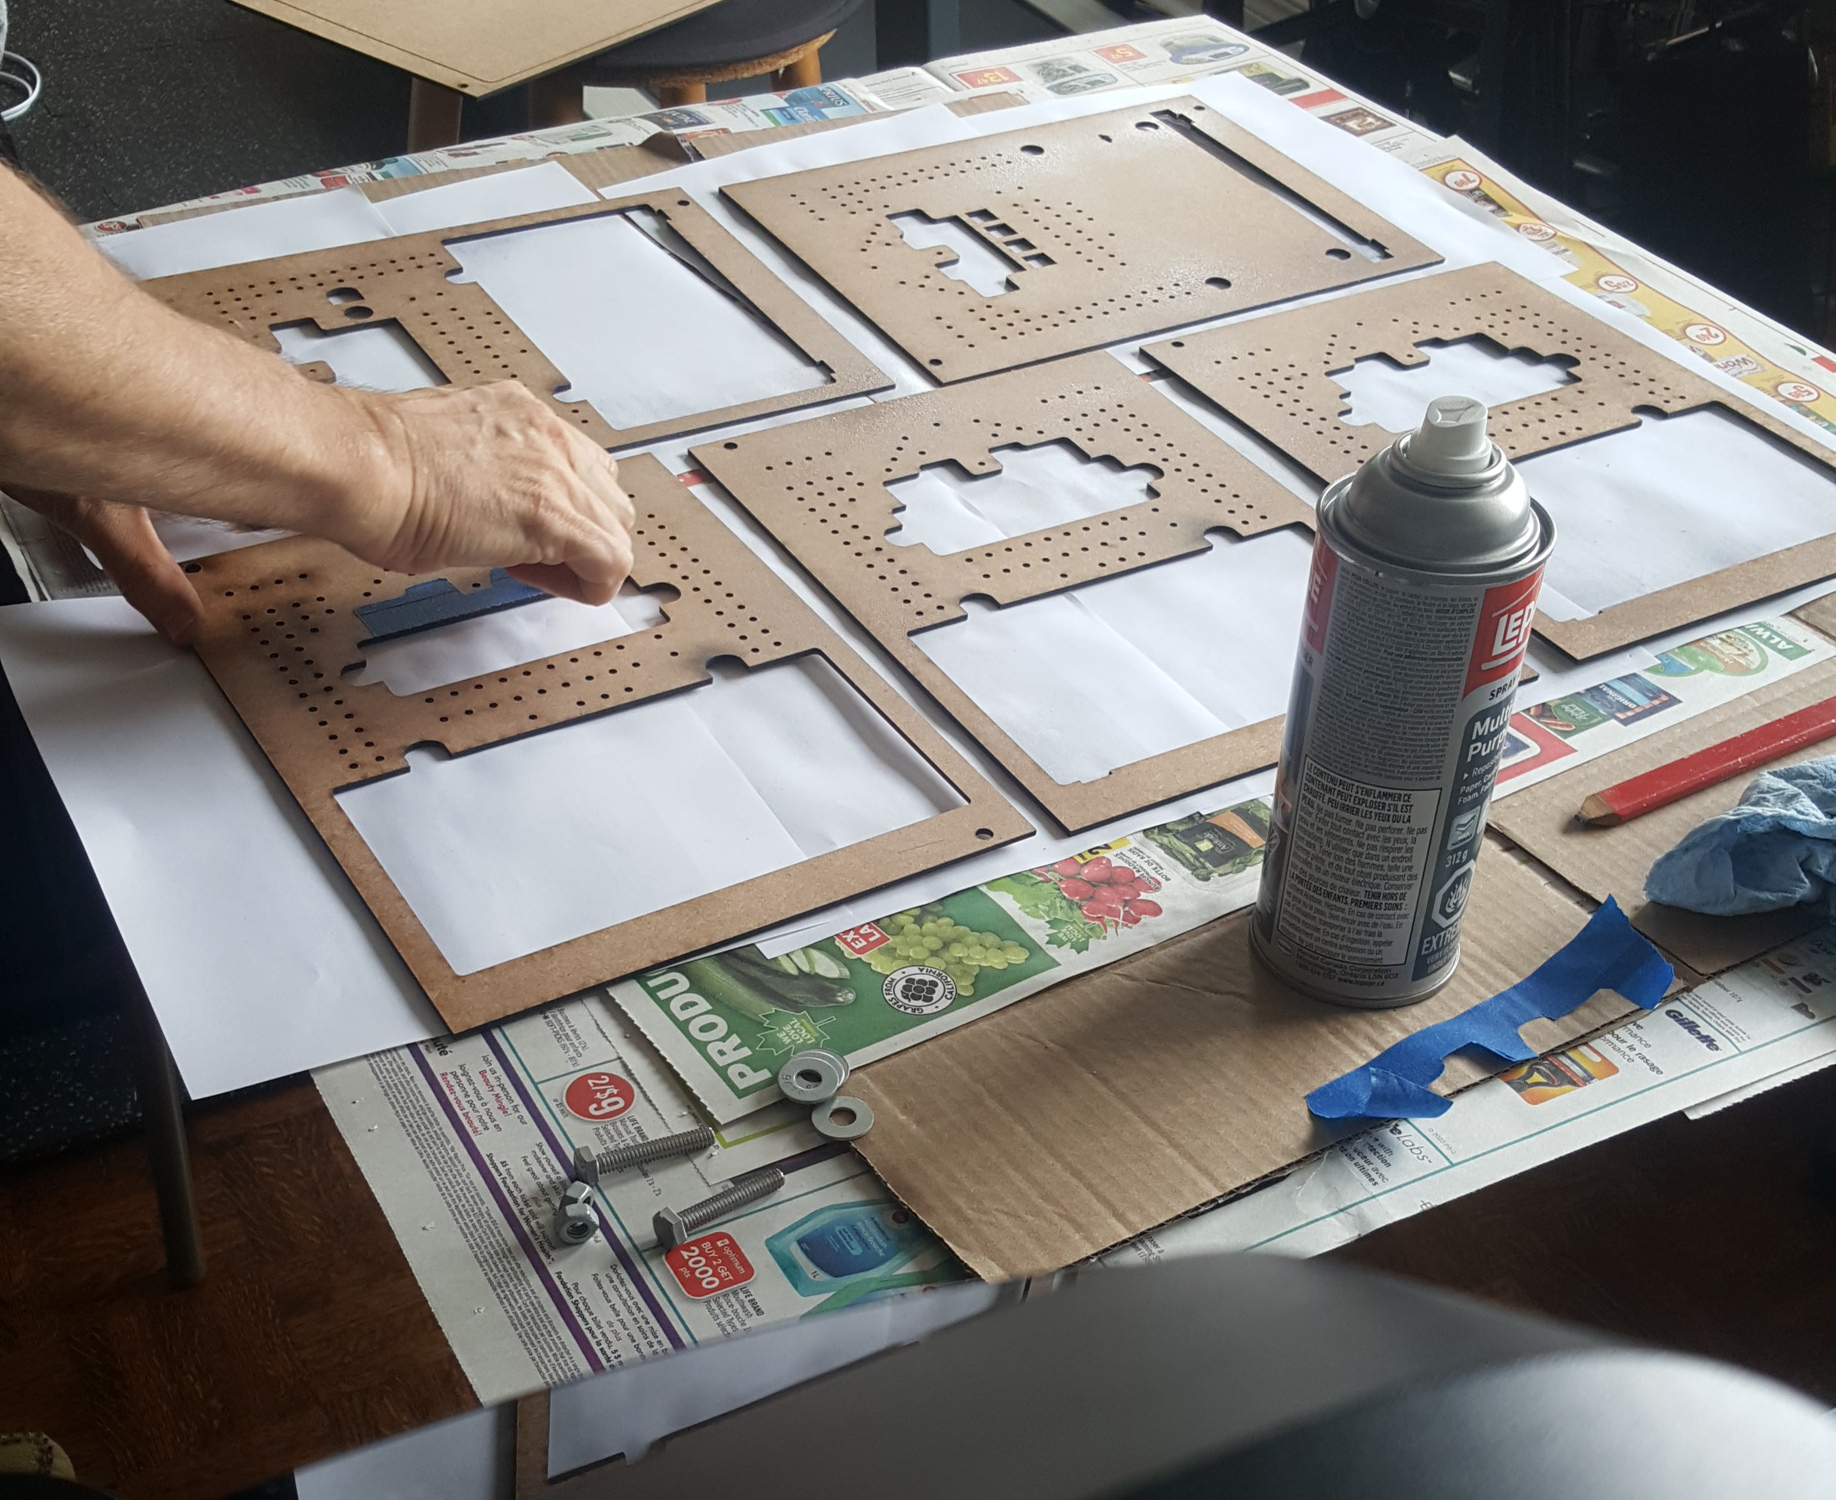
Moving on to the main board, I’m masking the underside of the compartment (the bottommost layer 2) so that it doesn’t get any of the spray adhesive. This is the only exposed surface on the underside of any of the boards. I use layer 2 to trace the minimum area to be covered:
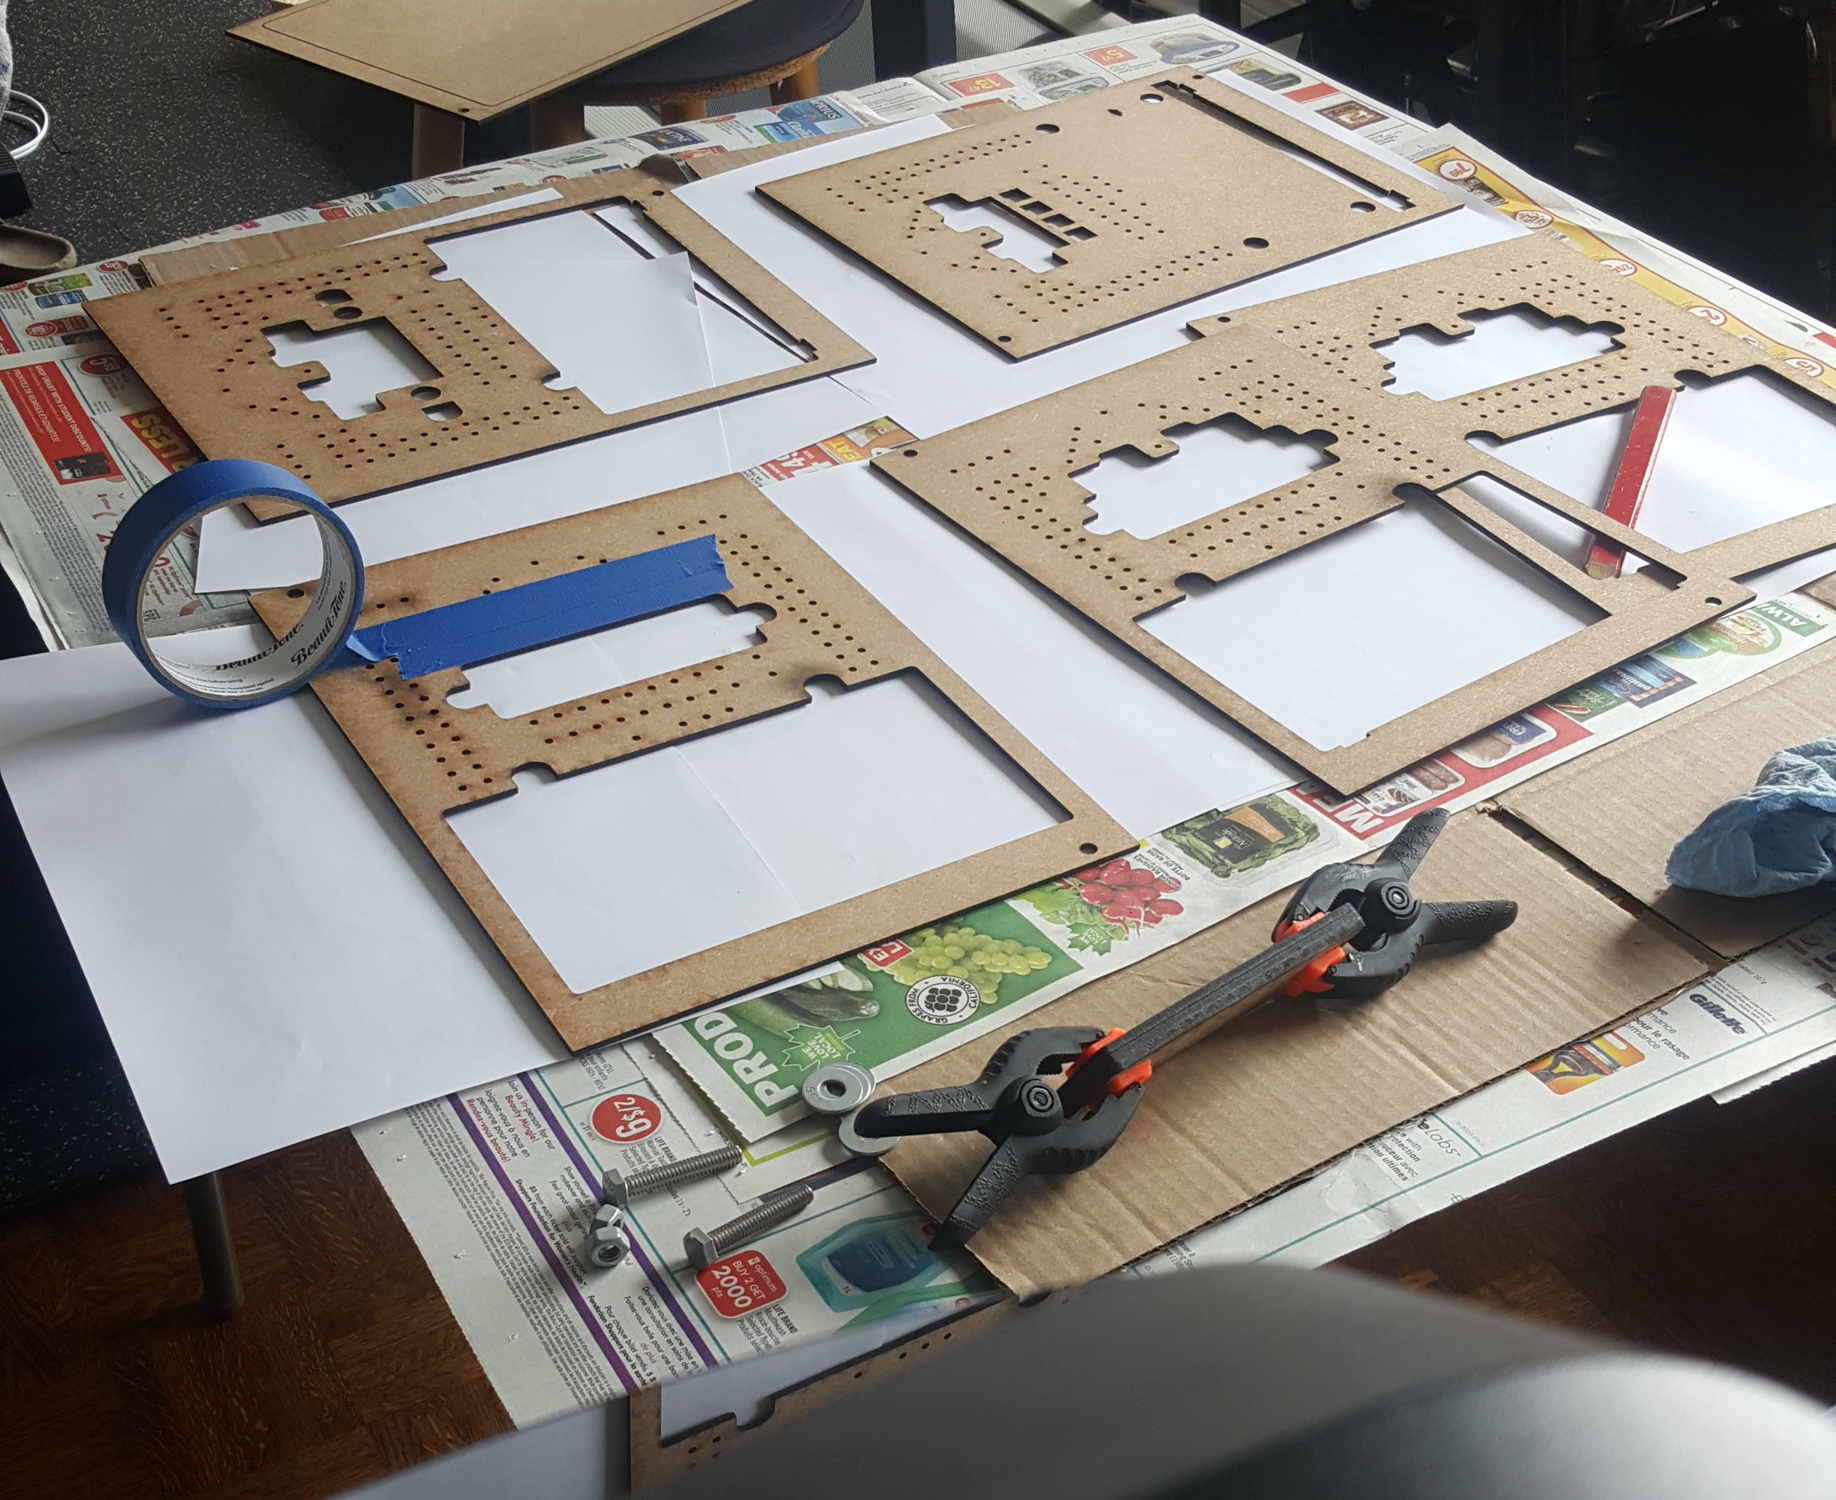
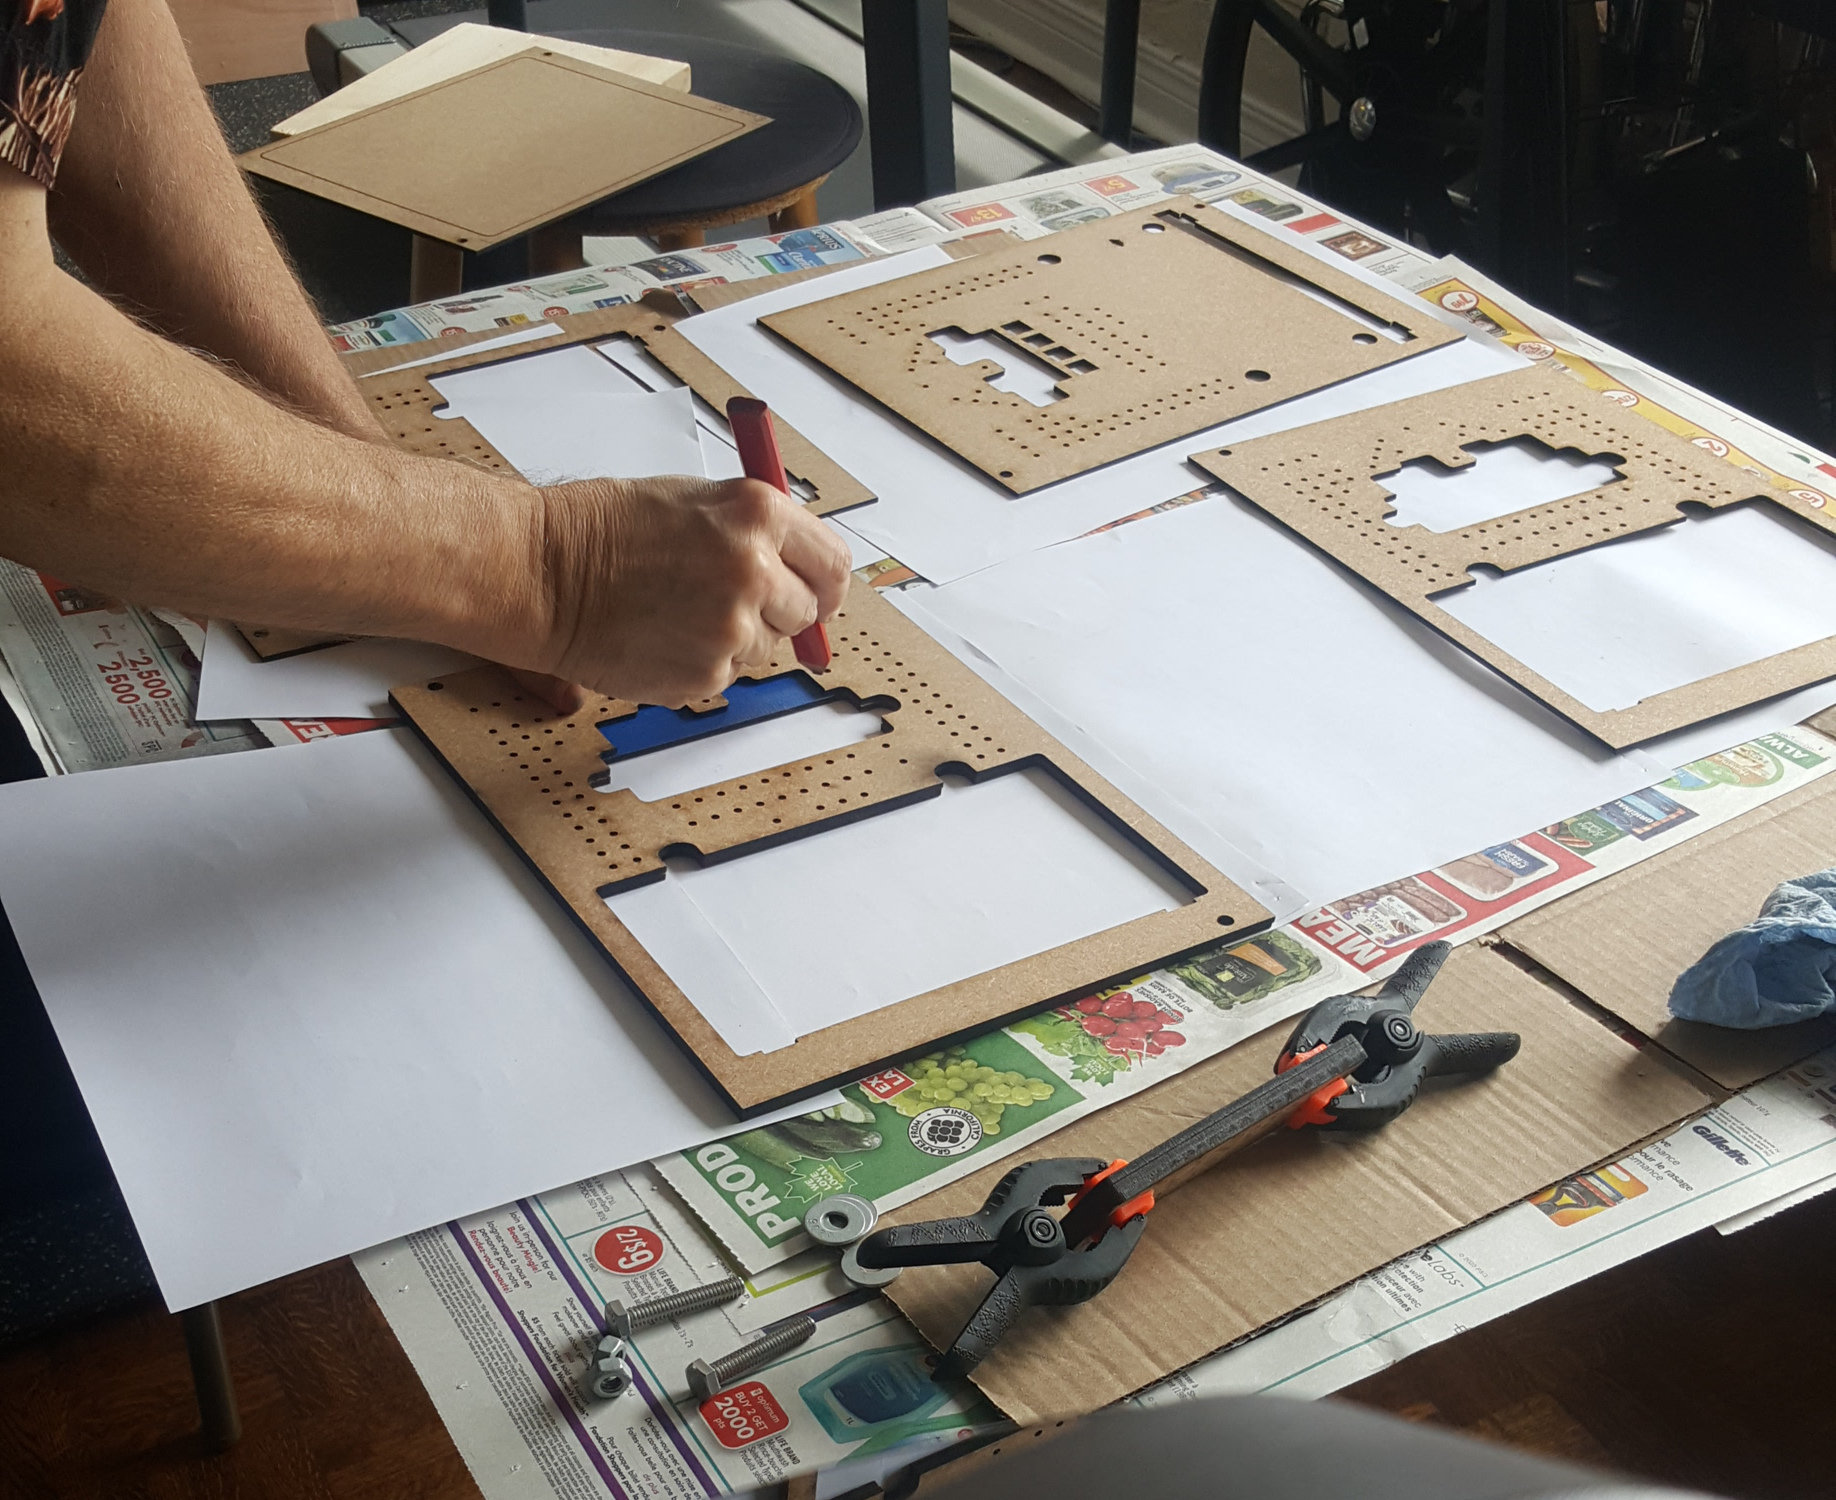
I cut off the excess so that the spray adhesive reaches the area around the hole for second base:
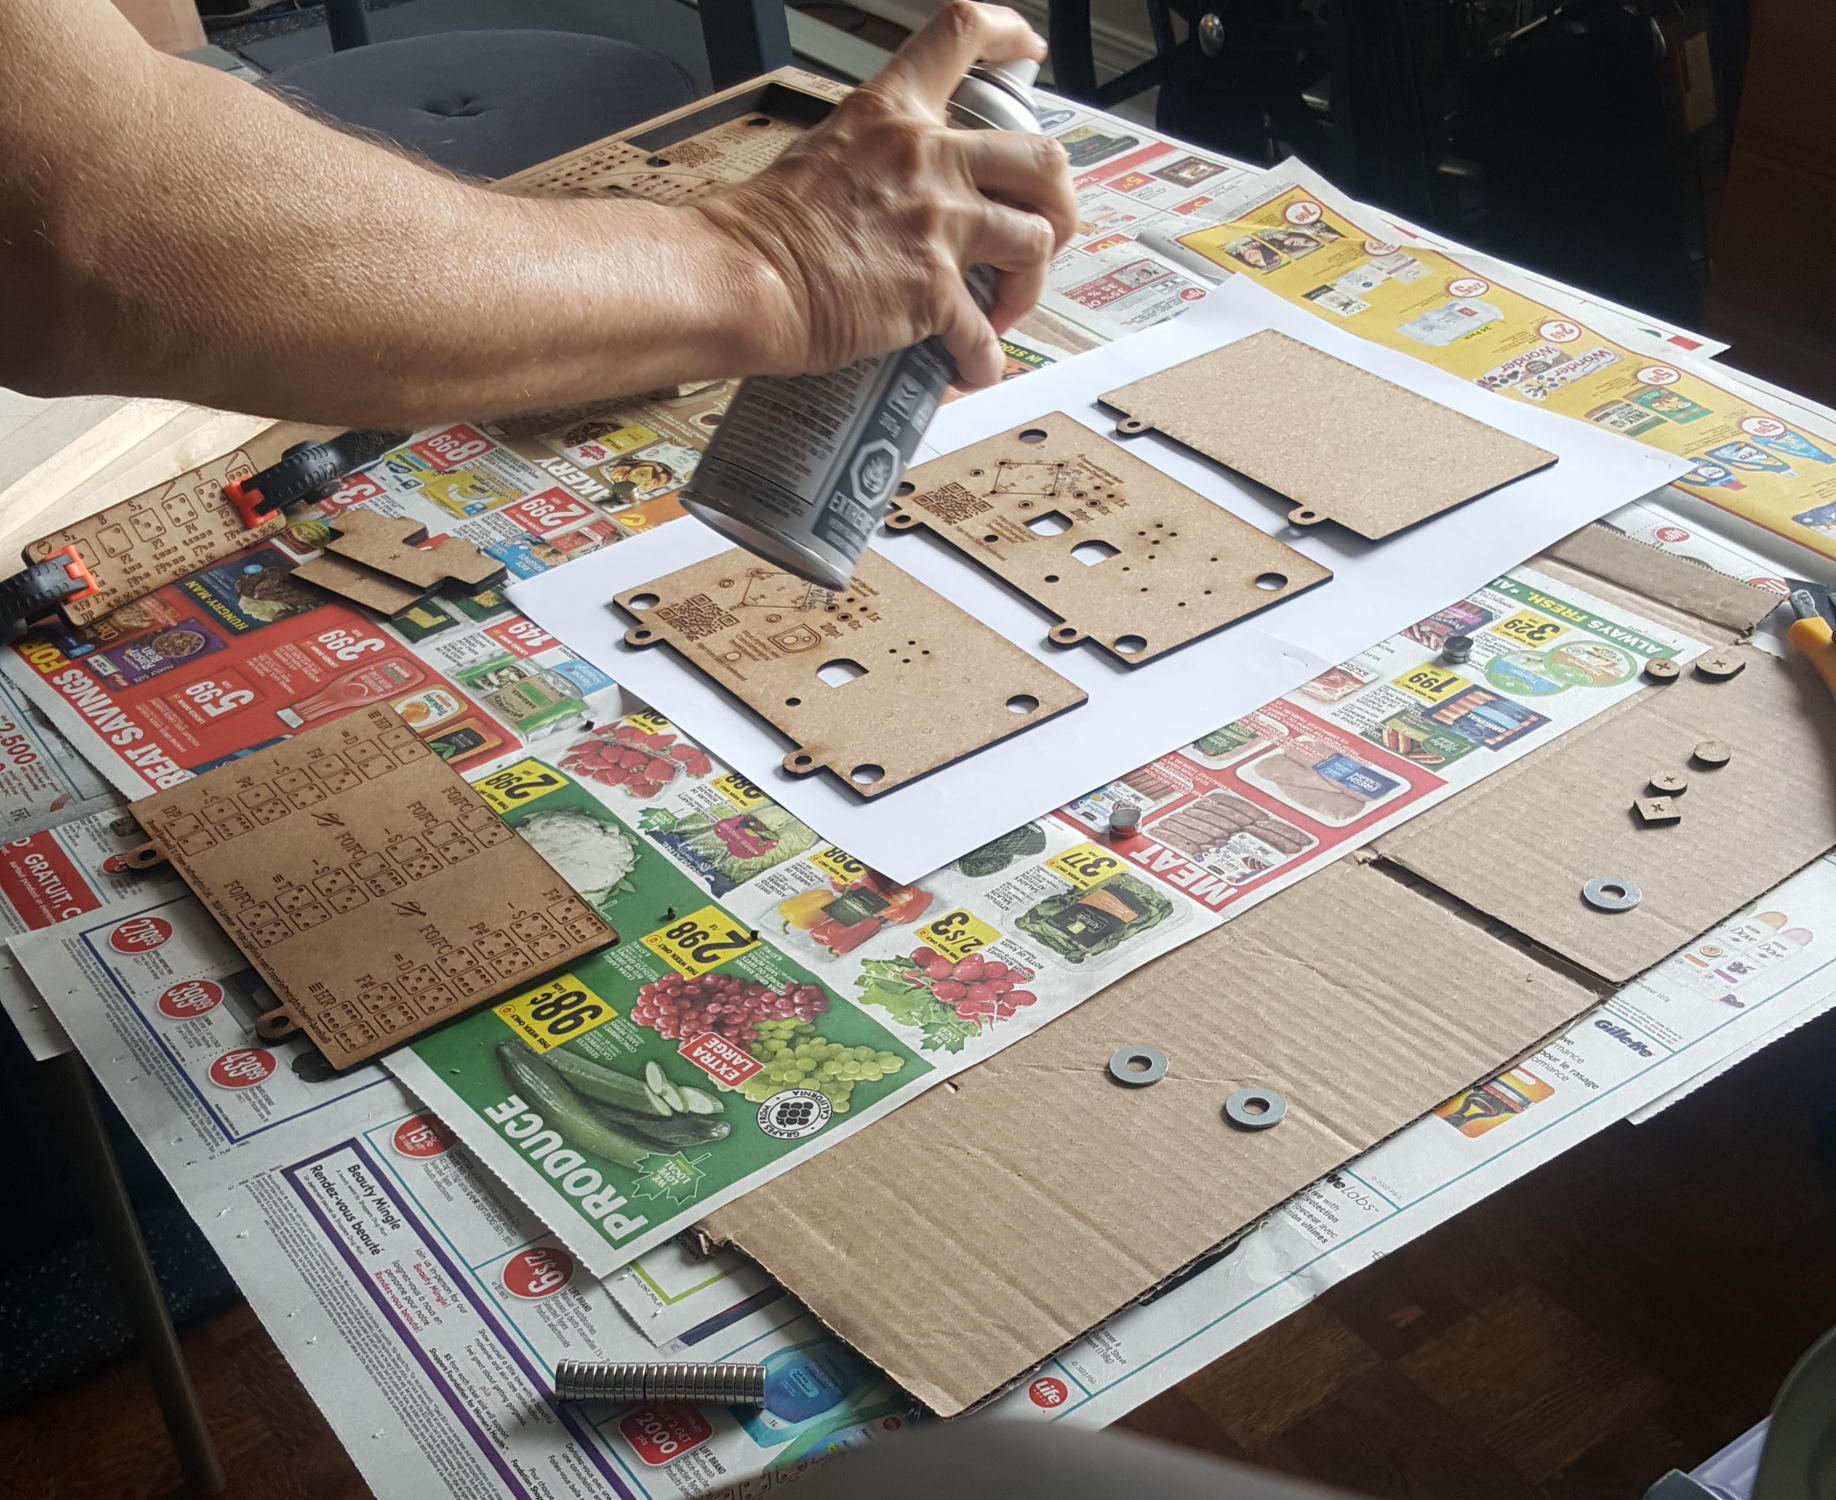
I hand numbered each of the layers on their underside since I’m working with the boards upside down. The cutter has numbered the front of the boards, but the fronts are all laying down on their face. This simple action gives me a lot more confidence I’m not misplacing the layers when I’m assembling them covered with adhesive.
I spray the adhesive on the underside of all of the layers except the back, and then remove the masking from the bottommost layer 2.
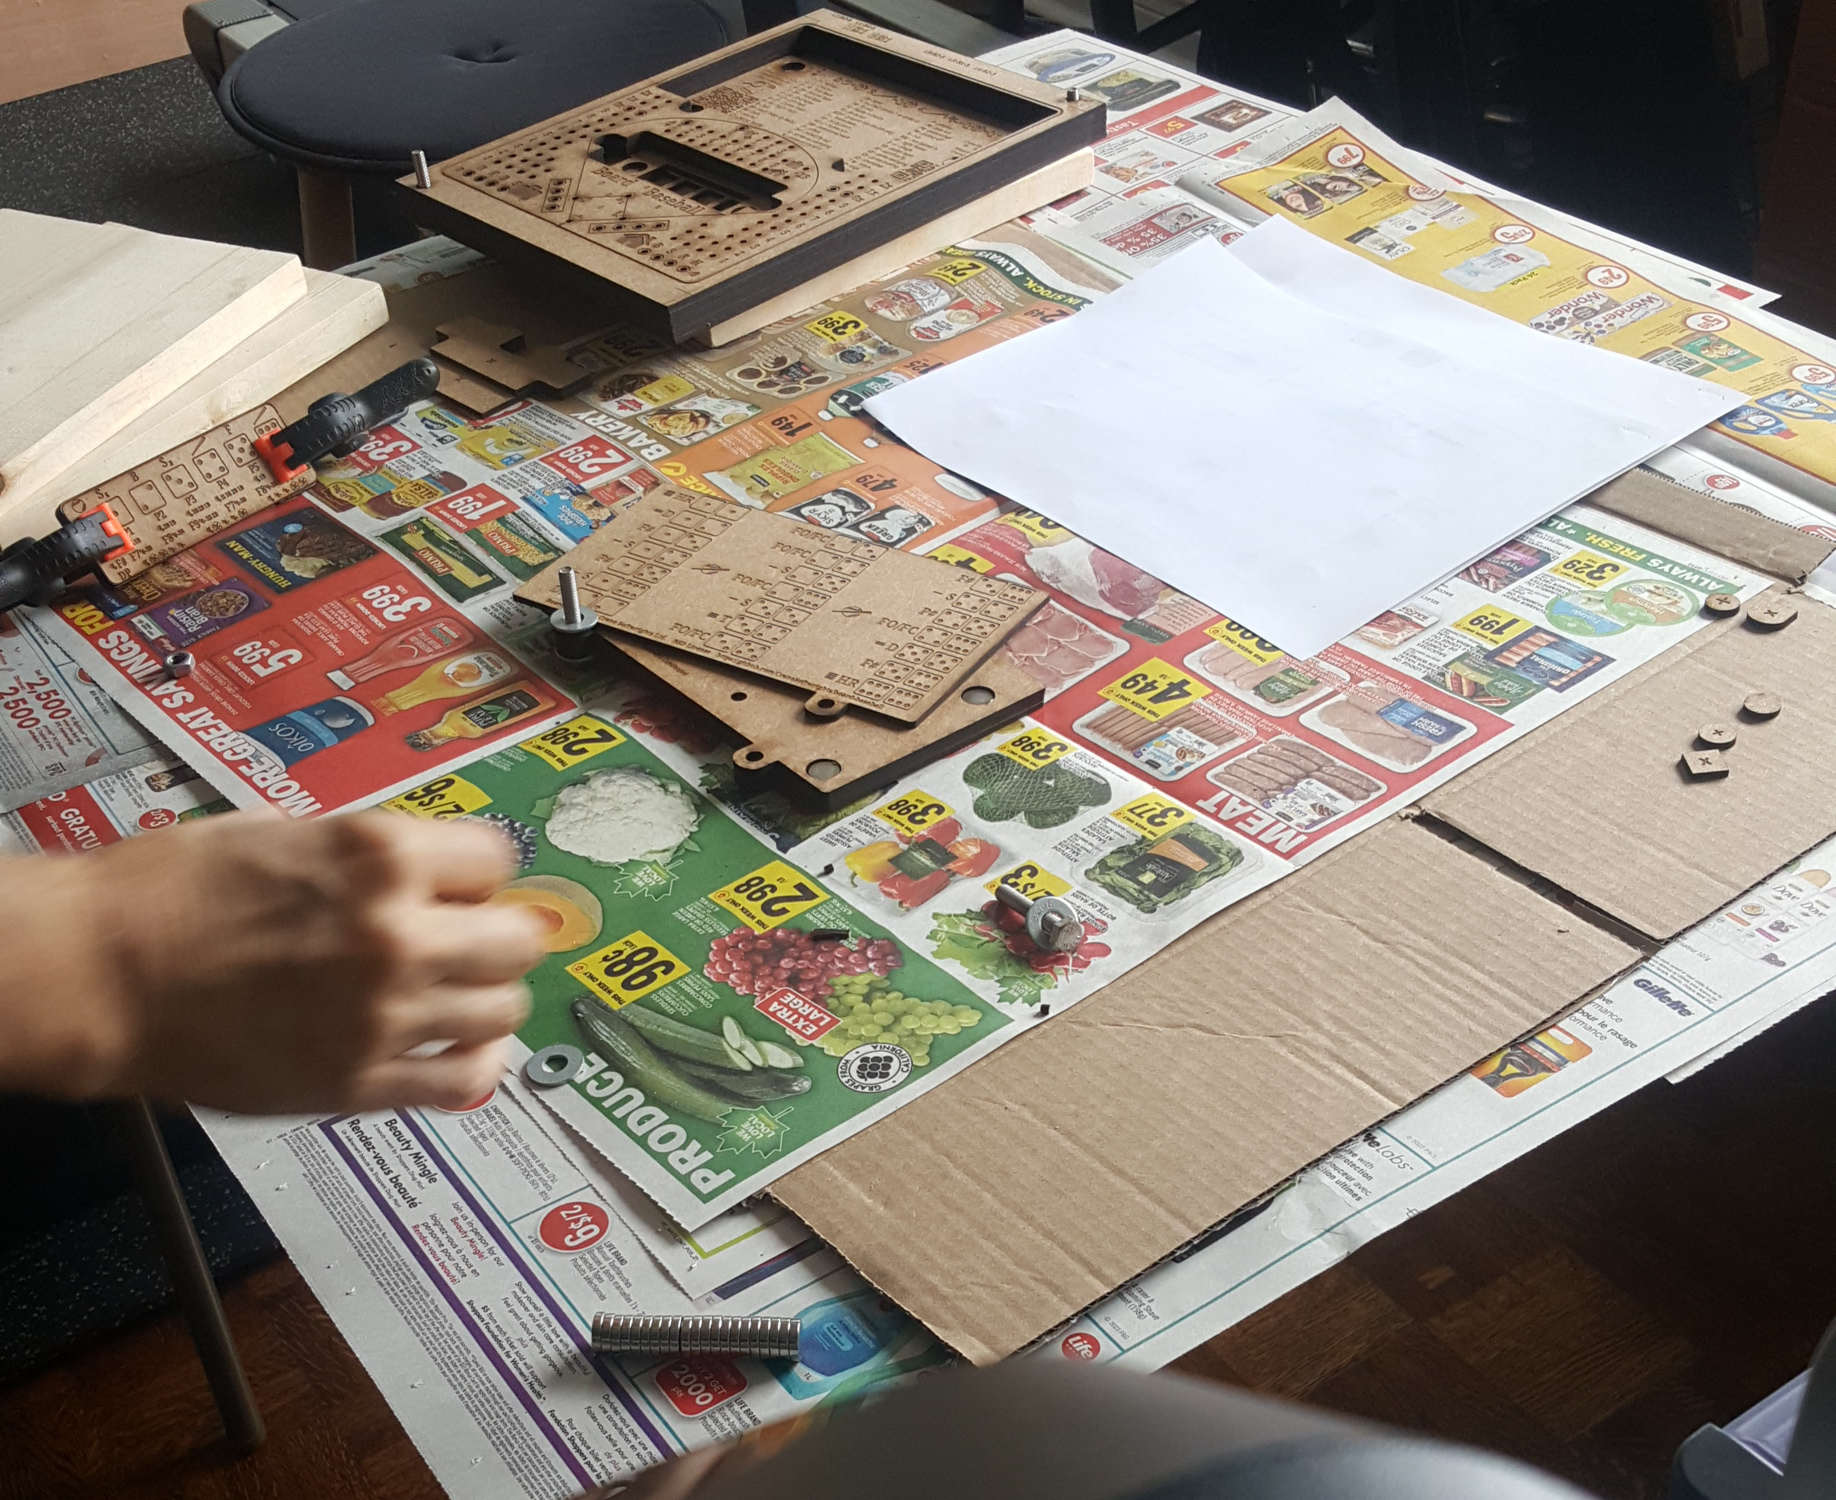
I stack the layers with adhesive, the front of layer 1 face down, using the alignment bolts to ensure placement, and using a pine board fragment underneath the front face so that the front face is flat and the bolt heads are not taking any of the weight. This will prevent the board from drying curved or warped.
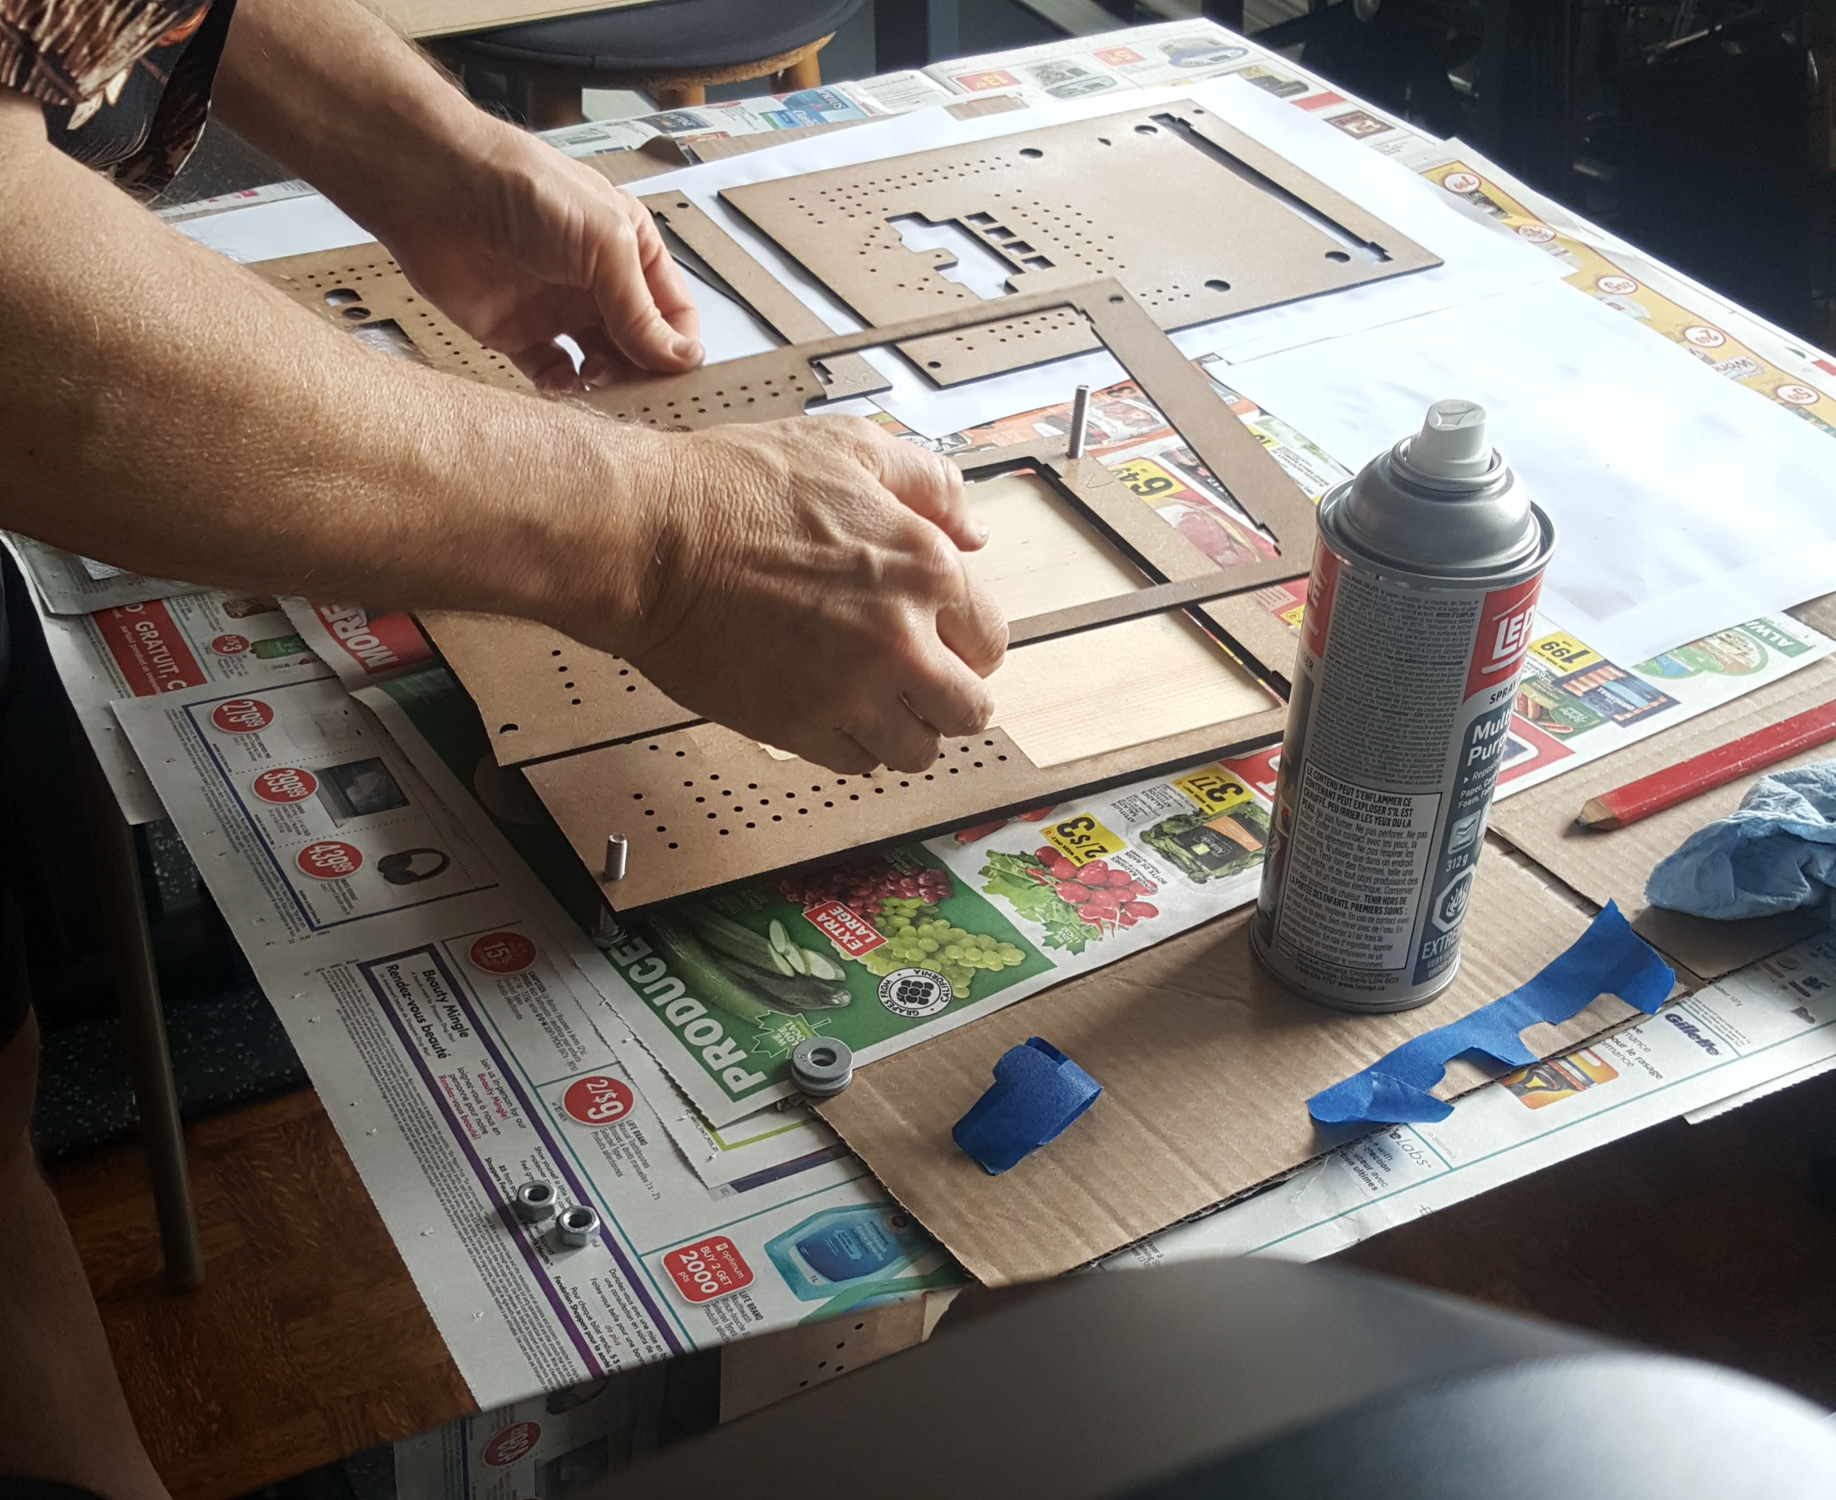

The washers and nuts are placed on the bolts to keep everything in place (though the adhesive already is doing its job).
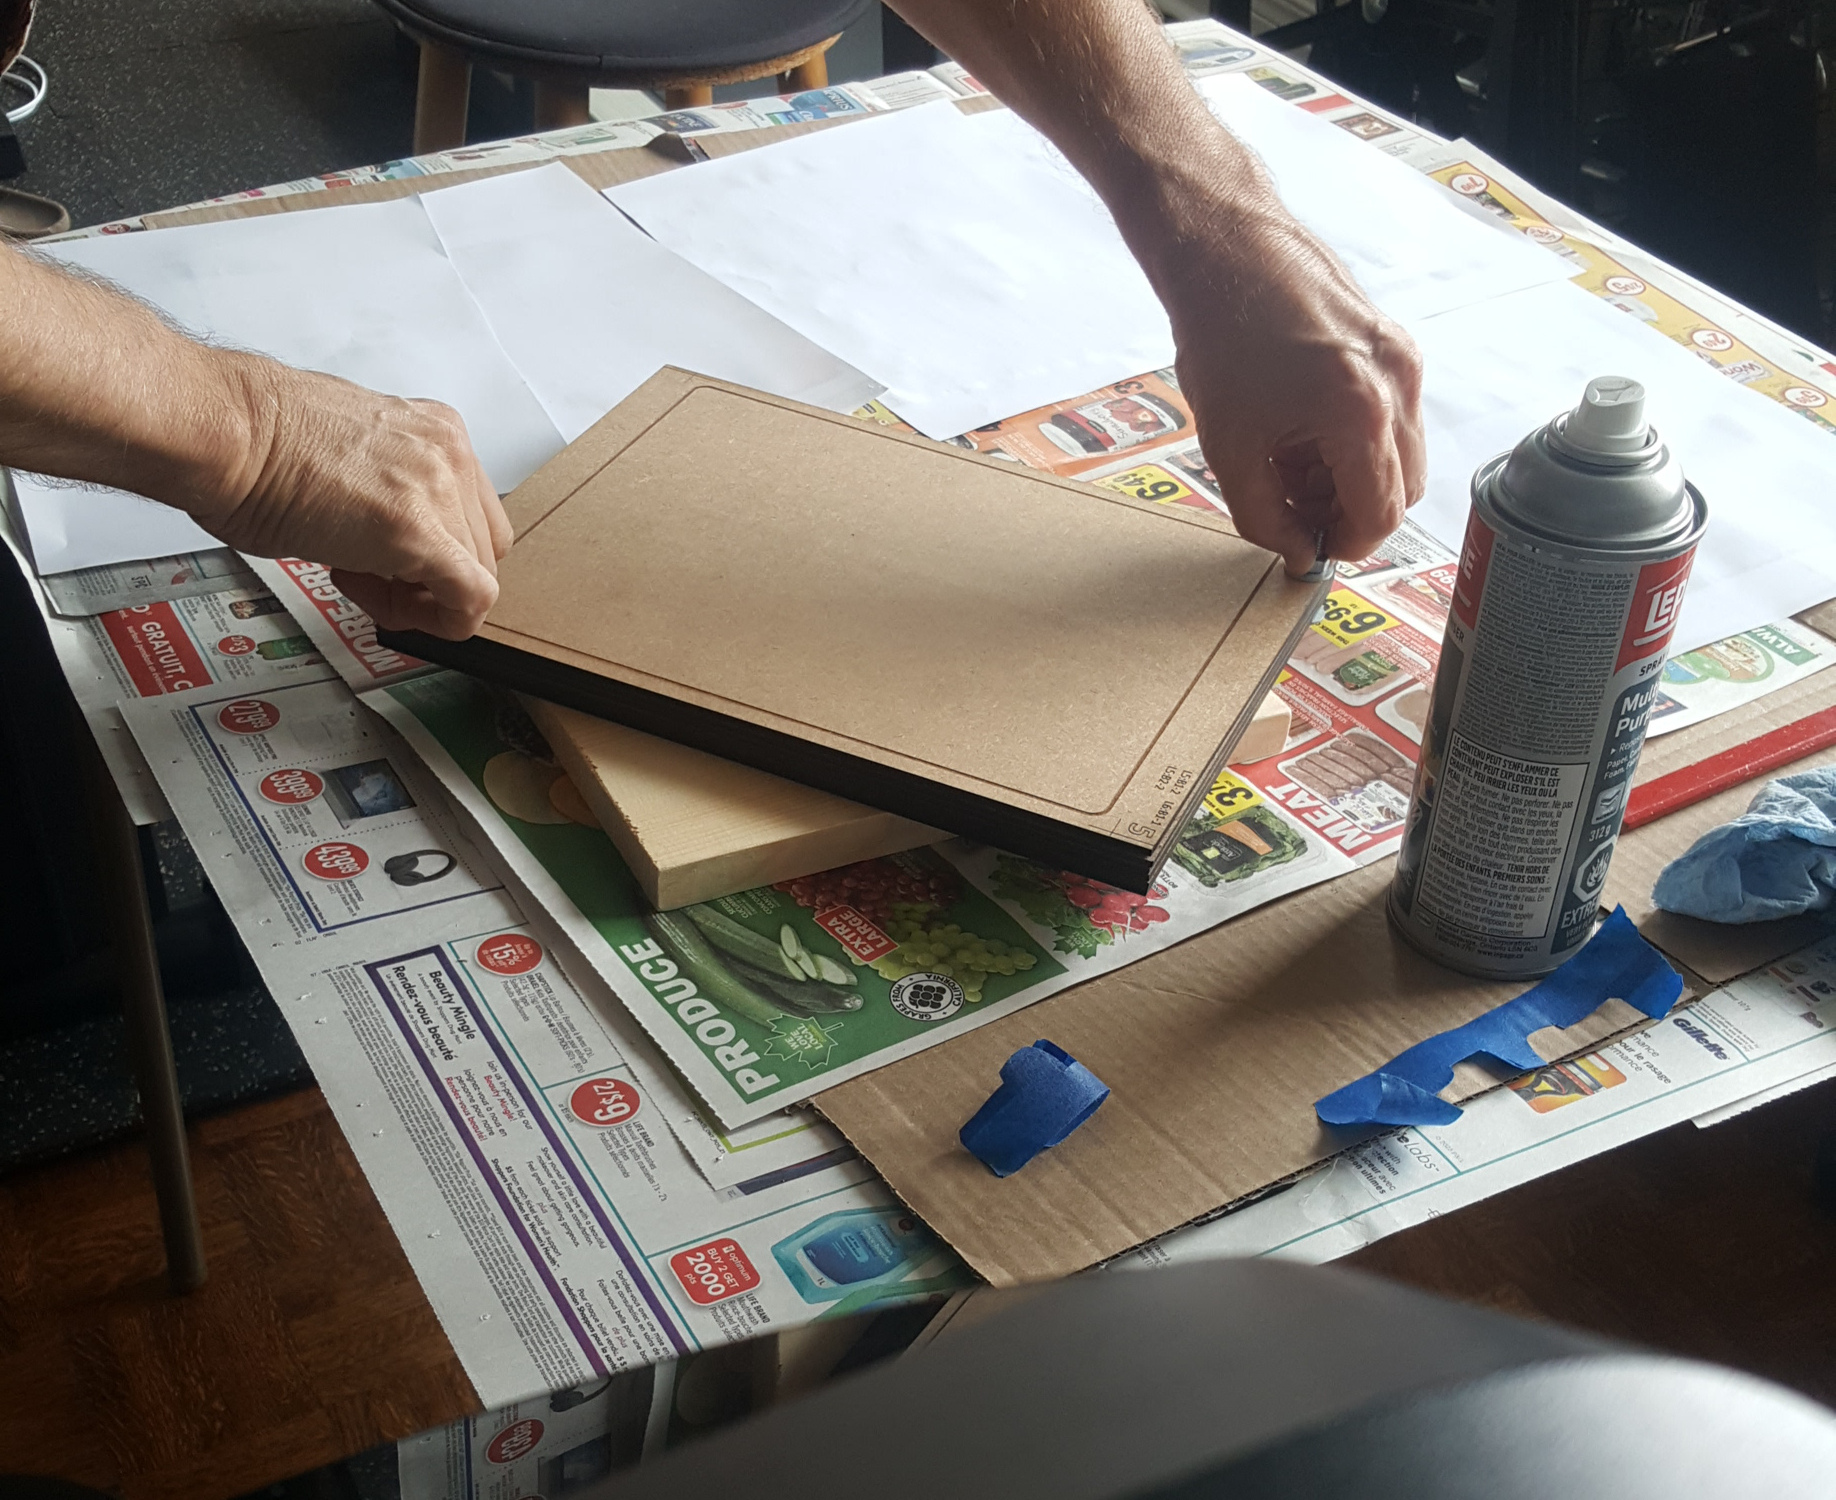
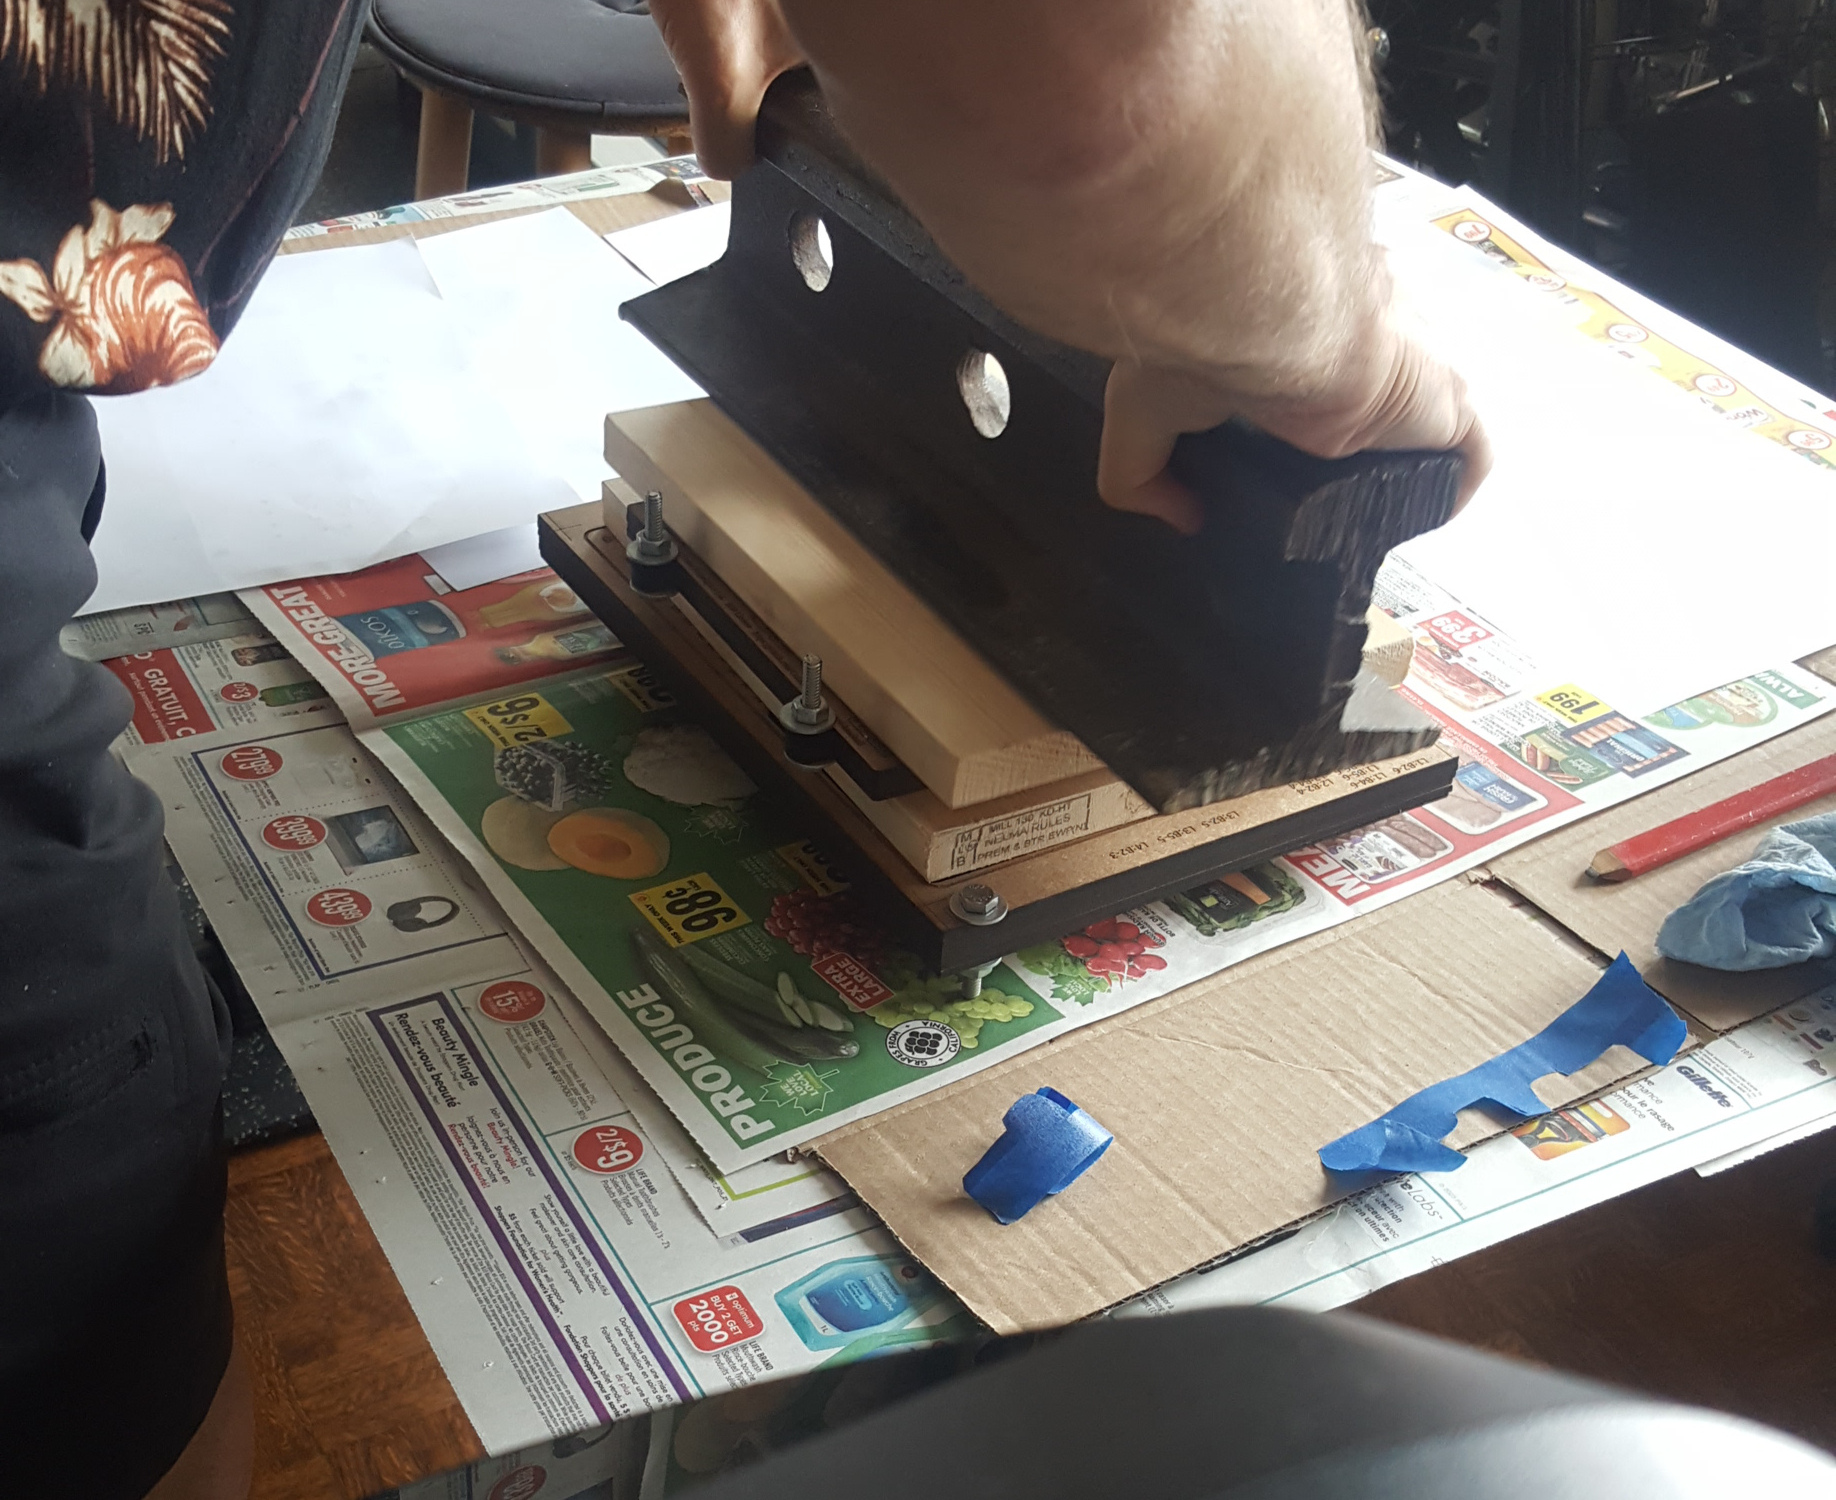
The pine boards are stacked with both the playing board and the play panels and weighted down (in this case with a 10kg piece of railway rail I inherited from my father).

One tip I learned when working with the magnets was that once I determined the correct orientation for a given magnet, I masked with masking tape the surface that is exposed. This provides two benefits: - if the magnet left its home (perhaps passing metal nearby) then there is no ambiguity as to how to replace the magnet where it belongs, and - the masking tape protects the exposed surface from the adhesives used to anchor the magnet in its hole (which can get messy)
Masking the board surface around the magnet hole also protects the surface from any adhesive that misses its target.
I used 5-minute epoxy as the adhesive for the magnets. I used one of the magnet cutouts as filler in each of the holes on the underside of the compartment lid to raise the magnets to the surface.
Remember that the magnets are small and dangerous for children should they become loose, much like the small dice and cribbage pegs only moreso.